
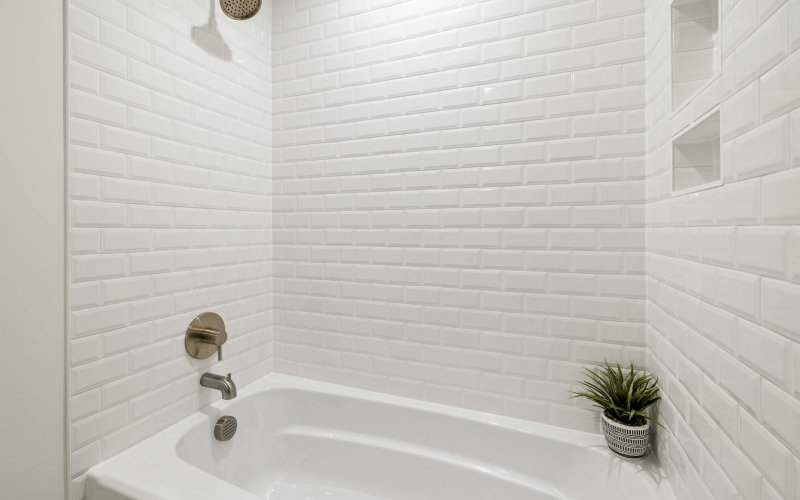

I’ve redone the caulk on my bathtub four times in twelve years. The first three times, I did it wrong. Not catastrophically wrong—just wrong enough that by month eight or nine, I’d spot that telltale gray fuzz creeping along the grout line, or a hairline crack splitting the bead right where the tub meets the surround. It’s demoralizing. You burn an entire afternoon on this thing, and then nine months later you’re back on your knees with a utility knife.
Here’s what nobody actually tells you: bad caulk jobs aren’t usually a product problem. They’re a process problem. The caulk itself—whether you grabbed the $4 tube or the $18 tube—performs almost exactly as advertised when you put it on correctly. When it fails, it’s because of what happened before and after the caulk ever touched the surface.
So this is the guide I wish I’d had in 2012. Real steps, specific products, and the handful of things that actually separate a professional result from a DIY disaster.
Strip the Old Caulk Completely (No Shortcuts Here)
This is where most people blow it. They spot a small crack, squeeze some fresh caulk on top, and call it done. New caulk bonded over old caulk that’s already failing will fail even faster. You need to get down to bare surface.
Grab a dedicated caulk removal tool—the Homax 6050 runs about $7 at Home Depot and has saved me probably three hours of frustration across different projects. Run it along the bead to lift and pull the bulk of the old stuff away. For stubborn remnants, 3M’s Caulk Remover Gel works well; let it soak for two hours and the residue basically peels off on its own.
Don’t skip the corners. That’s where mold hides. Get in there with a stiff brush and pull out every millimeter of old material.
Clean and Dry the Surface Like You’re Prepping a Surgery Table
Once the old caulk is gone, you’re still not ready to apply anything new. Not even close. Kill any existing mold spores with a bleach solution (one part bleach, four parts water), scrub, rinse thoroughly, and then—this part is critical—let everything dry for a minimum of 24 hours.
I can’t overstate the drying piece. Back in 2019, I rushed a bathroom reno and gave the surface maybe six hours of dry time. The caulk looked perfect for four months, then mold appeared underneath it, lifting the bead from the inside out. Moisture trapped beneath a fresh caulk bead is essentially a mold incubator. A very effective one.
If your bathroom doesn’t get great airflow, point a small fan directly at the tub seam and give it a full day. 24 hours minimum. 48 is better.
Choose the Right Caulk for a Bathtub (It Actually Matters)
Not all caulk is created equal. For a bathtub specifically, you want 100% silicone or a siliconized latex (sometimes labeled “kitchen and bath” caulk)—something with built-in mildewcide and rated for continuous water exposure.
GE Sealants makes a product called GE Supreme Silicone that’s held up in my tub for going on three years now. DAP’s 100% Silicone Sealant is another solid pick and runs about $9 per tube at Lowe’s. Avoid anything labeled “paintable” or “general purpose”—those aren’t built for the wet-dry cycling a bathtub goes through every single day.
And match the color properly. Bright white looks stunning on day one and shows every bit of discoloration by year two. If your tile grout is off-white or almond, match the caulk to that. Saves you headaches later.
Tape It Off for a Clean, Professional Bead
This single step is what separates home jobs from contractor jobs. Apply painter’s tape along both sides of the seam—about 1/8 inch back from the joint. When you run your caulk bead and tool it smooth, you pull the tape immediately, and what you’re left with is a perfectly defined, clean line.
Use FrogTape rather than generic painter’s tape. It has a sharper adhesive edge that prevents bleed-through. I learned this the hard way after a messy job in 2017 where I used the standard blue stuff and ended up with feathered edges I had to go back and trim with a razor blade. Not fun.
Cut your caulk tube nozzle at a 45-degree angle. Small opening—maybe 3/16 of an inch. You want a controlled, thin bead, not a fat glob.
Apply and Tool the Caulk Properly
Fill the tub with water before you caulk. This is a pro technique that almost nobody does at home, and it matters more than you’d think. When the tub fills up, it flexes slightly under that weight—usually somewhere between 1/16 and 1/8 of an inch of movement depending on the tub material. If you caulk with an empty tub and then fill it, that movement can immediately stress and crack the new bead. You’ve already wasted your afternoon.
Fill it, apply your caulk in one steady continuous pass, and tool it smooth with a wet finger or a caulk finishing tool. The Cramer Fugi 5-in-1 Caulking Tool (around $12) gives you a more consistent concave profile than your finger and keeps cleanup manageable.
Work in one direction. Don’t go back over sections you’ve already tooled. And pull the tape immediately—before the caulk skins over, which happens within 5 to 10 minutes with most silicone products.
Cure Time Is Non-Negotiable
Most silicone caulks need 24 hours of cure time before water exposure. Some need 48. Read your specific product. I know you just cleaned your bathroom and you desperately want to use it—but running the shower at hour 12 is exactly how you ruin a perfectly good application.
Keep the bathroom ventilated during cure. Humidity slows the curing process and can compromise the final bond strength. Open a window if you can.
Bottom Line
Here’s something I’ve genuinely never seen written anywhere else: the single biggest predictor of how long your caulk job lasts isn’t the brand you bought, your technique, or even the cure time. It’s whether you filled the tub with water before applying. Professional tub installers do this automatically—it’s second nature to them. But it almost never shows up in DIY tutorials because it sounds too simple to matter. And trust me, it doesn’t just matter. In my experience, it’s the difference between a job that lasts 18 months and one that holds for five years.
Frequently Asked Questions
How long does properly applied bathtub caulk actually last?
Done right—good silicone, clean surface, proper cure—you can reasonably expect 5 to 7 years before you need to redo it. Some people get 10. That number drops to 1 to 2 years when prep steps get skipped.
Can I caulk over existing caulk if it’s not moldy yet?
Don’t. Fresh caulk won’t bond reliably to old caulk. You’ll get adhesion failure within months. Always strip it completely, even if the existing bead looks fine.
What’s the best caulk color to use if I want it to stay looking clean?
Go with a slightly off-white or almond tone rather than bright white. Bright white shows soap scum and water stains dramatically faster. Matching your grout color also makes any future discoloration far less noticeable.
How do I know if I need to recaulk or if it’s a bigger problem like grout failure?
If the gap is only at the seam between the tub and the wall, that’s a caulk issue. But if you’re seeing cracking and separation within the tile field itself—not at the tub line—that’s a grout or substrate problem, and caulking over it won’t fix anything.
Photo by Curtis Adams on Pexels

