
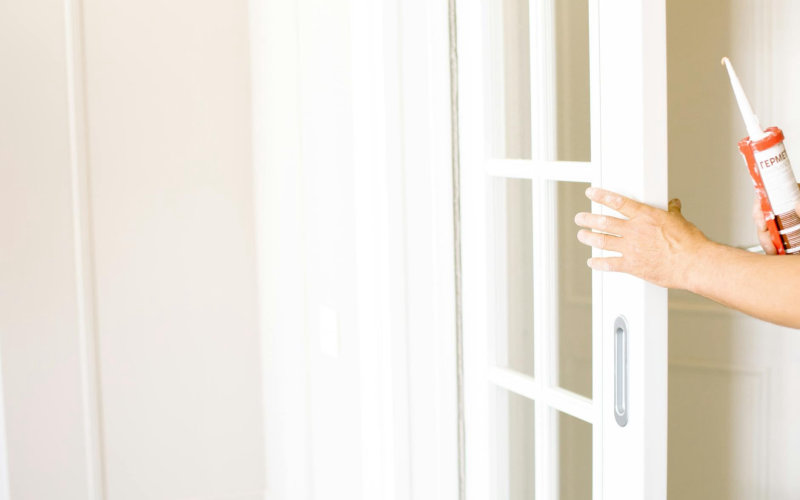

You’ve done everything right. You watched the YouTube videos. You bought the decent caulk — not the $2 clearance tube, the real stuff. You taped the edges. And yet, when you peel that tape back, what stares at you is a lumpy, uneven, pulled-apart mess that looks worse than if you’d done nothing at all. Sound familiar?
Here’s the truth most home improvement guides won’t tell you: the problem almost never starts with your hands. It starts with your tools. Specifically, the absence of one tool most beginners don’t even know exists.
The Real Reason Your Caulk Lines Look Uneven
Caulk application is a pressure game. The moment you cut that tube tip and start squeezing, you’re fighting a constant battle against inconsistent flow. Squeeze too hard, you get a blob. Ease off, you get a skip. Most people compensate by moving faster or slower, trying to outrun the inconsistency with sheer willpower.
That doesn’t work. Not reliably. Not on a bathtub surround where every square inch is visible.
The culprit is almost always a standard ratchet-style caulking gun. You squeeze the trigger, ratchet advances, and caulk keeps flowing — even after you’ve stopped squeezing. So you’re constantly chasing that bead, trying to stop it from running over, and the result looks exactly like what it is: a tug-of-war you’re losing.
The Tool That Solves This Immediately
Buy a dripless caulking gun. I’m not talking about anything exotic or expensive. The Newborn 930-GTD runs about $28 on Amazon as of May 2026. That’s it. That’s the big secret.
A dripless gun has a spring-loaded rod that snaps back automatically the instant you release the trigger. No more overrun. No more blob buildup mid-stroke. The flow stops when you stop. It feels like the difference between trying to paint with a broken brush versus an actual quality tool.
I first made this switch back in 2019 when I was re-caulking every bathroom in a house I’d just bought. Three bathrooms, all different tile configurations. The first one I did with a standard $6 ratchet gun from the hardware store — I spent 40 minutes cleaning up the mess. The second bathroom took me 15 minutes total, bead included, after switching to the dripless. Same hands. Same caulk. Different tool.
Why Tape Alone Won’t Save You
So many guides push painter’s tape as the ultimate caulking cheat code. Tape both sides, apply, smooth, pull. Clean lines every time, they say.
Partially true. But here’s where it fails you: if your bead is still inconsistent, if you’re still getting too much caulk in some spots and too little in others, the tape only reveals the problem in sharper contrast. You peel it back and now you have a perfectly framed disaster.
Tape helps most when your gun and your technique are already solid. Think of it as finishing polish, not a structural fix. Get the tool right first, then use tape to refine.
The Tip Cut That Almost Everyone Gets Wrong
Before you even load the gun, you’re probably already making a mistake. Most people cut the nozzle tip at a 90-degree angle — straight across, like scissors cutting paper. That gives you a round opening that spits caulk in every direction simultaneously.
Cut at 45 degrees instead. A smaller angle, maybe 3/16 of an inch opening for a standard interior joint. That angled cut lets you press the tip into the joint and drag it along with control, directing the flow into the gap rather than onto the surface. It sounds like a minor thing. It isn’t. This single change accounts for maybe 30% of the visual improvement all by itself.
And start small with that opening. You can always make it bigger. You cannot make it smaller once you’ve cut.
The Smoothing Step Nobody Talks About Enough
Your gun delivers the bead. Your finger finishes it. But here’s what separates a professional-looking result from a good try: lubrication.
Dry fingers dragging across wet caulk pull and tear the surface. You get ridges, uneven compression, drag marks. Instead, wet your finger with a tiny bit of dish soap solution. I use a small cup with maybe 10% Dawn, 90% water, and run it along the bead in one smooth, confident stroke. One stroke. Don’t go back. Don’t second-guess it.
Your results will improve dramatically. The soap prevents sticking, lets the caulk compress evenly, and leaves a slightly concave finish that’s both functional and genuinely clean-looking. Professionals have done this for decades. It costs you nothing.
What to Do When the Old Caulk Fights Back
New caulk on top of old caulk is almost always a mistake. The new layer won’t bond properly. It’ll peel within months. And your fresh application will look terrible because the old surface is uneven.
Spend the time removing it. A caulk remover tool like the Homax 6600 costs about $8 and does the heavy work. For stubborn sections, 3M makes a caulk remover gel that softens even silicone after 3 hours. Apply it, walk away, come back, and the old caulk practically lifts out on its own.
Surface preparation isn’t glamorous. But it determines 50% of your final result before you ever touch the gun.
Getting the Right Caulk for the Right Job
Not all caulk is interchangeable. Using interior latex caulk in a shower is a slow-motion disaster. it’ll mold and fail within a year. Use 100% silicone or a siliconized latex hybrid rated for wet areas. GE Sealants Silicone II Window and Door, or DAP 3.0 for kitchens and baths, both solid, both widely available in 2026, both proven performers.
Color matters more than people think. Bright white looks sharp on day one and shows every bit of mold and discoloration three years later. Almond or off-white ages more gracefully in high-humidity spaces. That’s just honest advice.
The Honest Truth About Why This Matters
Your home reflects your standards. When you walk into a bathroom with clean, tight caulk lines, you feel it. a quiet signal that this space is cared for. When the caulk is ragged and peeling, it pulls everything down, even if the tile is beautiful.
You have the capability to do this well. You just needed the right information and the right tool. A $28 dripless gun, a correctly cut tip, a soapy finger, and proper surface prep. That’s the entire system. No mystery, no years of practice required.
Commit to doing it right once. The second time will feel effortless. And the result, tight, professional, genuinely clean lines. is something you’ll notice every single day.
FAQ
Why does my caulk keep cracking after it dries?
Usually a sign of two things: either the bead was applied too thin, or you used the wrong caulk type for the movement and humidity in that space. A joint that expands and contracts needs a flexible silicone formula, not a rigid latex.
How long should I wait before getting the caulk wet?
Most silicone products need 24 hours minimum before water exposure. Check your specific tube, some fast-cure formulas say 3 hours, but I always give it a full day.
Can I caulk over existing caulk in an emergency?
You can, but you’re borrowing time. New caulk over old rarely lasts more than 18 months before peeling. Remove it properly when you get the chance.
Photo by La Miko on Pexels

