
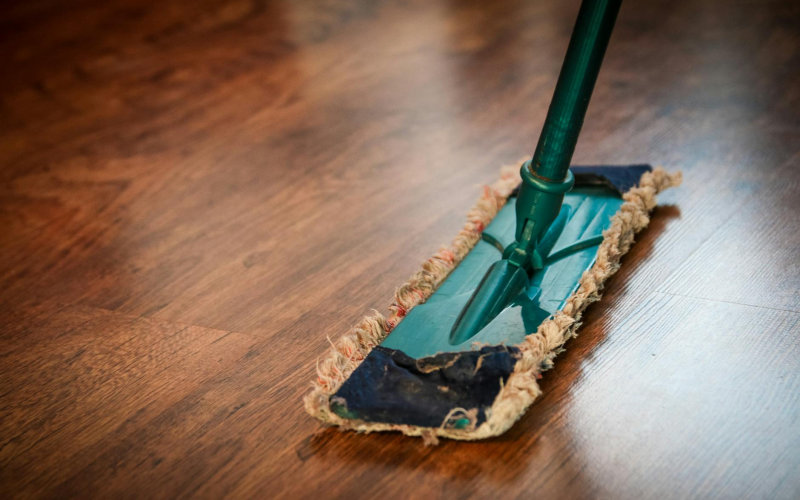

My neighbor dropped $400 on a professional floor polishing service last spring. I watched the guy pull up, spend 45 minutes on her kitchen and hallway, then disappear. She could’ve handled the whole thing herself for about $30 in supplies and one free afternoon. That’s the weird thing about wood floor care—it sounds terrifying until you actually understand what’s going on beneath the surface.
But here’s what most guides skip right over: polishing isn’t the right call for every wood floor. Wrong product, wrong floor type, and you’ve created a slippery, cloudy disaster that makes future refinishing genuinely harder. So before we get into technique at all, we need to figure out whether you should even be polishing in the first place.
The short version? Surface finishes—urethane, polyurethane, that kind of thing—play nicely with polish. Oiled, waxed, or completely unsealed floors need something else entirely. Let’s figure out which category you’re working with.
Step 1: Test Your Floor’s Finish First
This takes two minutes. It saves you from a potentially expensive regret.
Find a hidden spot—inside a closet, behind a door, under where the couch usually sits. Grab a coin or a key and give the floor a light scrape. Not aggressive. Just a slow drag across the surface.
Clear flakes or chips coming up? You’ve got a surface finish (urethane, polyurethane, aluminum oxide). Polish away. The surface just smears or looks burnished without flaking? That’s a penetrating finish—tung oil, raw wood, something in that family—and you need wax, not polish. Using polish on penetrating finishes lays down a gummy, uneven layer that bonds poorly and can actually stop future wax from adhering the way it should.
Test done. Now you know what you’re dealing with.
Step 2: Clear the Room Completely
I know. Moving furniture is miserable. Do it anyway.
Polish wants to go on in thin, uninterrupted coats. Working around chair legs and table bases means thick pooling in some spots and missed patches in others—and that combination looks genuinely awful once raking light hits the floor at a low angle. That low, sideways light that finds every single flaw.
Pull everything out. Stack it in the hallway or the next room over. Your back will protest for an hour. Your floors will look stunning for the next six months. Worth it.
Step 3: Clean Like You Actually Mean It
Polish doesn’t hide dirty floors. It seals the dirt in. This step matters more than people give it credit for.
Sweep or vacuum first—get into the edges where pet hair and dust collect and refuse to leave. Then damp-mop with a proper hardwood floor cleaner. I’ve used Bona Hardwood Floor Cleaner for years (around $10 a bottle, no residue, dries fast). A diluted dish soap solution—roughly 1/4 cup to a gallon of warm water—also works fine if you’re not fighting anything greasy.
One pass with cleaner. One final pass with a clean, water-dampened mop to pull up whatever’s left behind. Then dry. Completely. Don’t rush this part—polishing over even slightly damp wood causes cloudiness and adhesion failures. Give it at least 30 minutes, and more if your house runs humid.
Step 4: Apply the Polish in the Right Direction
This is where technique starts to actually matter. Begin in the far corner—as far from the door as possible—so you’re always moving backward toward your exit. You genuinely do not want to polish yourself into a corner.
Pour the polish in a loose S-shape directly onto the floor, working a 3-foot section at a time. Spread it with a flat microfiber mop using long strokes that follow the wood grain. Always with the grain. Going against it leaves visible lines once the polish cures, and they’re not subtle.
Keep coats thin. Thin layers dry in roughly 45 minutes and lay down more evenly. Thick globs dry slowly, bubble, and streak. If one coat doesn’t deliver the shine you’re after, let it dry fully and add a second. Bona offers both matte and high-gloss versions—I go with the low-sheen option because it looks more natural and shows footprints less. Vanity decision, sure. But an important one.
And keep the mop away from baseboards and drywall. Wood floor polish stains both. Tape them off if you’re not confident about your edges.
Step 5: Let It Actually Cure
One hour minimum before anyone walks on it. A full 24 hours before furniture comes back in.
I’ve broken this rule. My dining room chairs left little ring impressions in the polish that needed spot treatment later. Learn from my impatience rather than repeating it.
When you do bring furniture back, pick pieces up—don’t slide them. Freshly polished floors scratch easily during that first 24-hour window. Felt pads under chair legs aren’t optional here; they’re the cheapest protection you can give your floors over the long haul. A pack of adhesive pads from any hardware store costs about $5 and lasts a year or more.
How Often Should You Polish?
Two to four times a year is the standard recommendation, and I think it’s pretty accurate for a busy household. Dogs, kids, heavy foot traffic? Lean toward quarterly. One adult living alone? Twice a year is probably plenty.
But don’t over-polish. Buildup is a genuine problem. After too many layers, you get a plastic-looking haze that no amount of cleaning will fix. At that point, you need a polish-stripping product specifically designed to break down accumulated layers before you start fresh.
Between sessions, weekly vacuuming and monthly deep cleaning will stretch the life of each application considerably. Skip vinegar and ammonia-based cleaners entirely—they eat away at surface finishes over time, no matter what old home remedy sites tell you.
Bottom Line
Here’s something I haven’t seen other guides actually say: most people treat polishing like a cosmetic fix—something you do when floors look bad. But the real value is preventive. A thin polish layer acts as a sacrificial barrier. Scratches and scuffs hit the polish first, not the actual finish beneath it. When polish wears down, you reapply. When the finish wears down, you’re looking at full refinishing—which runs $3 to $8 per square foot professionally, or an entire weekend of dusty, exhausting DIY work. The math isn’t complicated. Polish isn’t just about shine. It’s cheap insurance on an expensive floor.
Frequently Asked Questions
Can you polish engineered wood floors the same way?
Yes—as long as they carry a urethane surface finish, which most engineered hardwood does. The process is identical. Just confirm the finish type first with the scrape test, and use a polish specifically labeled safe for engineered wood.
What’s the difference between polishing and refinishing wood floors?
Polishing adds a thin protective layer on top of your existing finish to restore shine and smooth out minor surface imperfections. Refinishing means sanding all the way down to bare wood and building a new finish from scratch. One is maintenance. The other is a renovation. They’re not interchangeable.
Why do my wood floors look streaky after polishing?
Usually one of three things: floors weren’t fully clean before you started, you applied too much polish at once, or the mop itself was dirty. Always wash your microfiber mop head before using it. Old polish residue left on the mop causes streaking faster than anything else.
How do you remove polish buildup on wood floors?
Use a dedicated floor polish remover—Bona makes one, and so does Bruce. Follow the directions, let it break down the accumulated layers, then clean thoroughly before starting fresh. Don’t sand or scrape it off. That damages the finish underneath.
Photo by Pixabay on Pexels

