

I’ve ruined a piece of furniture exactly once by rushing a shellac job. A small walnut side table, 2019, first apartment. Slapped on too thick a coat, didn’t sand between layers, and ended up with a blotchy, sticky mess that looked worse than bare wood. Took me two full days to strip it back down and start over.
That one disaster taught me more about shellacking wood than any YouTube video ever could.
Here’s the thing — shellac is genuinely one of the most forgiving finishes you can work with, but only if you understand what it actually is and how it behaves. Get that right, and you’ll produce surfaces that look warm, hand-rubbed, and alive in a way polyurethane simply never pulls off.
What Shellac Actually Is (And Why It Matters)
Shellac comes from lac insects — tiny bugs native to parts of Asia that secrete a resinous substance onto tree branches. That resin gets harvested, processed into flakes, and dissolved in denatured alcohol. So yes, you’re essentially coating your furniture in bug juice. And it works beautifully.
This isn’t some synthetic chemical concoction. It’s completely nontoxic once dry, which is why manufacturers use it on pharmaceutical pill coatings and candy. That fact surprises almost everyone who hears it.
Compared to polyurethane or lacquer, shellac gives wood a warmer, more organic character. No plastic sheen. Just a deep, lustrous finish that draws out the grain rather than sitting over it like a protective film.
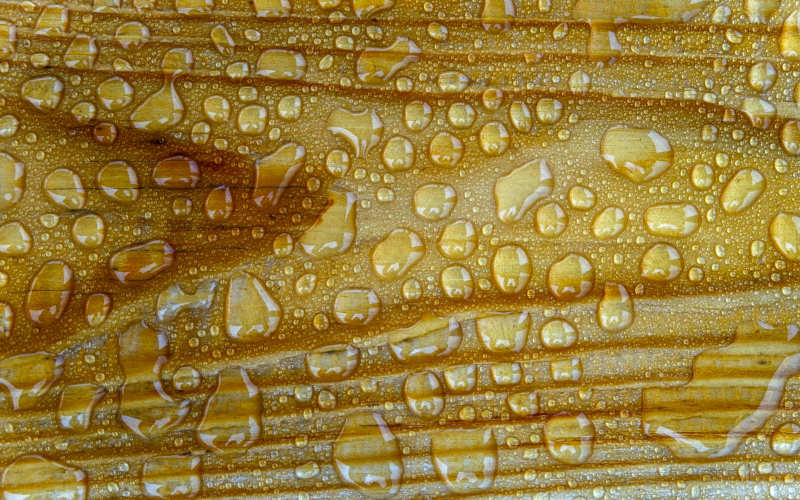
But — and this genuinely matters — shellac doesn’t handle water or direct sunlight well. It’s not the right call for a kitchen countertop or an outdoor bench. Best candidates? Decorative furniture, antiques, interior trim, jewelry boxes, picture frames. Things that look beautiful without taking a daily beating.
Understanding Shellac “Cuts” Before You Buy Anything
This is the part most beginner guides breeze right past, and honestly, it’s where most people go wrong first.
Shellac is sold in different concentrations called “cuts.” A cut refers to how many pounds of shellac flakes are dissolved per gallon of denatured alcohol. A 2-pound cut is the sweet spot for most finishing work — thin enough to flow smoothly, thick enough to build a real finish over three or four coats.
Pre-made shellac from the hardware store usually comes in 3-pound or 4-pound cuts. That’s too thick straight from the can for most applications. You’ll want to thin it down with denatured alcohol. I typically grab a quart of Zinsser Bulls Eye Shellac (the amber version gives gorgeous warmth to hardwoods) and add roughly 20-30% more denatured alcohol to hit that 2-pound range.
And please — check the expiration date. Shellac has a genuinely short shelf life, often 12-18 months from manufacture. Old shellac won’t harden properly, and you’ll spend days staring at a tacky surface wondering what went sideways. This happens more than people admit.
Prep the Wood First. No Shortcuts.
Sand your piece with 220-grit sandpaper before you touch any finish. Work with the grain, not across it. Then wipe everything down with a tack cloth to pull up the fine dust — because any particles left behind will get sealed in and show up as tiny bumps under your finish.
Clean surface. Really clean. That’s the entire job at this stage.
If you’re working with open-grained woods like oak or mahogany, consider a grain-filling step first. Shellac follows the contours of the wood surface, so pores and divots will still read through after your first coat. Maybe that’s exactly the look you’re after — or maybe it isn’t. Your call entirely.
Applying the First Coat (The Right Way)
Test your mixture on scrap wood before you touch your actual project. Always. I use cheap pine because it shows you exactly how the shellac will flow and dry.
For large flat surfaces, fold a cotton cloth rag into a pad shape. Dip it in the shellac and apply with long, even strokes following the grain. You’re not scrubbing — you’re gliding. Think polishing rather than painting.
For edges, corners, and any carved or detailed sections, switch to a fine-bristled brush. Keep your strokes moving in the same direction. Shellac dries incredibly fast (sometimes within minutes of hitting wood), so you don’t get the luxury of circling back to fix drips. Move confidently and keep a wet edge going.
One trick I’ve relied on for years: put smaller pieces on a lazy Susan. Being able to rotate the work without picking it up or touching the surface is genuinely worth the $15 that thing costs.
Sanding Between Coats Is Non-Negotiable
Wait at least 30 minutes after each coat. Then buff the surface lightly with 400-grit sandpaper or #0000 steel wool — the superfine kind. You’re not trying to remove material here. You’re knocking down raised grain fibers and tiny imperfections before the next coat lands.
Wipe with a tack cloth again. Every single time. This step takes 90 seconds and makes a visible difference in the final surface.
Get down to eye level and look across the piece in raking light. Anywhere that reads dull or matte hasn’t been coated evenly. Hit those spots specifically on your next pass.
Three coats minimum. Four is better. Some furniture restorers go six or seven on really precious pieces. Each layer is thin — you’re building depth gradually, not throwing on heavy coats and hoping for the best.
The Final Coat and Finishing Options
Your last decision is gloss versus satin. Leave the final coat unbuffed if you want high gloss. Stunning on darker woods like cherry or walnut.
For a softer satin look, buff the final coat with #0000 steel wool and then apply a thin layer of non-silicone paste wax. The silicone-free part matters — silicone interferes with any future refinishing work, and you don’t want that headache. Johnson Paste Wax works fine. So does Briwax.
Buff the wax to a low sheen and you’re done.
Fixing Damaged Shellac Later
This is shellac’s actual secret superpower. Damaged polyurethane basically demands a full strip-and-redo. Shellac? Dab some denatured alcohol on a rag, gently work the damaged area in small circles to dissolve just that section, then re-apply fresh coats until it’s flush with the surrounding surface.
New shellac chemically bonds with the old layers because they’re the same material. Seamless repair. No visible patch lines. No one will ever know.
Bottom Line
Here’s something I haven’t seen other guides say directly: shellac rewards the patient beginner more than any other wood finish out there. Polyurethane punishes mistakes hard — runs, dust nibs, adhesion failures. Lacquer brings fumes and spray equipment into the picture. But shellac dries forgiving, repairs itself, and teaches you what a proper hand-applied finish actually feels like under your hands.
So if you’re new to finishing wood, don’t start with the so-called “durable” options. Start with shellac on something small. A jewelry box. A wooden frame. Learn how a finish builds in thin layers and how sanding between coats transforms a surface. Those skills carry over to everything else you’ll ever do with wood — and that’s the real reason to learn this stuff in the first place.
Frequently Asked Questions
How many coats of shellac does wood actually need?
For a real protective finish, three coats is the minimum. Four is the better target for most furniture pieces. Each coat should be thin — you’re building depth gradually, and sanding between coats is what actually creates that smooth final surface.
Can you put shellac over stained wood?
Yes, and it works really well. Shellac is actually an excellent sealer over oil-based stains before applying a topcoat. Just make sure the stain is completely dry first — usually 24 hours minimum depending on the product.
What’s the difference between amber and clear shellac?
Amber shellac adds a warm golden tone to the wood, which looks gorgeous on hardwoods like oak, cherry, and walnut. Clear (also called blonde) shellac is nearly colorless and works better on lighter woods like maple or pine where you want to preserve that natural pale color.
How long does shellac take to fully cure?
Shellac dries to the touch in minutes and feels hard within an hour or two. Full cure — where the finish reaches maximum hardness — takes about 30 days, though most people use the piece long before that without any problem.
Photo by sergeispas on Pexels

