
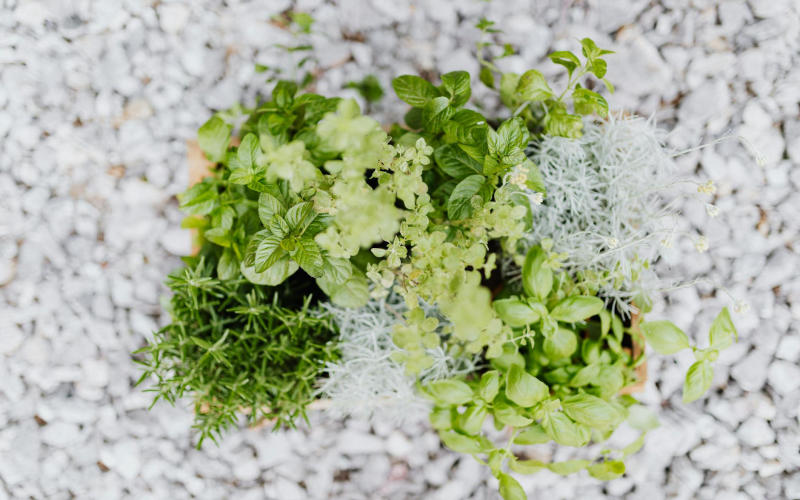

I killed my first herb garden in 2011. Six little plastic pots from a big box store, basil and thyme on the windowsill, dead within three weeks. Turns out bad drainage and zero airflow are basically a death sentence for herbs — and those cheap pots had both problems in spades.
What saved me wasn’t buying better pots. It was raiding my recycling bin.
There’s something genuinely satisfying about turning a tin can that was headed to the landfill into something that grows you food. And honestly? Recyclable containers often outperform store-bought pots in the categories that actually matter — drainage, size, portability. Here’s how to do it right.
What Kitchen Recyclables Actually Work Best
Not everything in your bin deserves a second life as a planter. Some materials leach chemicals when wet. Others just disintegrate.
The winners: tin cans (soup cans, coffee tins), plastic bottles (1L to 2L), wooden wine crates, glass jars with some modifications, and waxed cardboard milk or juice cartons. They hold up to moisture, offer enough depth for herb roots, and most of them cost you nothing.
Steer clear of styrofoam and anything with a strong residual chemical smell. Bleach bottles. Paint cans. Pretty obvious, but worth saying out loud.
Tin cans are my personal favorite. A standard 15-ounce soup can gives you roughly 4 inches of depth — perfect for basil, chives, parsley, and mint. Coffee cans (the big 30-ounce ones) are essentially free planters with solid volume for larger herbs like rosemary.
How to Prep Your Containers (Drainage Is Everything)
This is where most people blow it. Seriously.
Herbs need drainage. Roots sitting in standing water rot fast, and then you’re starting over. Every single container needs holes punched in the bottom — no exceptions, no shortcuts.
For tin cans, grab a hammer and a nail. Three or four holes through the bottom is plenty. For plastic bottles, a heated skewer or a small drill bit works cleanly. Milk cartons are actually the easiest — just pierce the bottom corners with scissors.
Rinse everything first. Soap residue in a tin can stresses your plants, and leftover sugars from a juice carton will summon fungus gnats faster than you’d believe. Hot water, quick rinse, ten minutes to air dry. Done.
And here’s something I didn’t figure out for years: put a small piece of coffee filter or torn newspaper over the drainage holes before you add soil. Keeps the dirt in, lets water out freely. Tiny tip, surprisingly big difference.
Building a Vertical Setup with Plastic Bottles
If you’re short on counter space — and most of us are — going vertical is the obvious move.
Bob Vila’s DIY team showed a clever setup where 1.5L plastic bottles get their tops cut off to form cup-shaped planters, which then drop into holes drilled into wooden shelves. The whole frame fits on a countertop and holds six herbs in a footprint smaller than a cutting board.
You don’t need power tools for this. A utility knife cuts plastic bottles cleanly if you score a line first. Cut about 5 inches down from the bottle neck. The cap screws back on and acts as your drainage plug — poke a few holes in it first, obviously.
Spray paint the bottles if you want them to look deliberate rather than just… trash-adjacent. Any spray paint labeled for plastic works. White or terracotta tones look surprisingly good on a kitchen shelf. Line up six of these on a single piece of 1×4 lumber with a few L-brackets, and you’re looking at a total cost under $15.
The Milk Carton Method for Beginners
This is the easiest entry point if you’ve never done this before.
A standard half-gallon milk or juice carton gives you roughly 6 inches of depth once you cut the top off — more than enough for almost any kitchen herb. The wax coating keeps things waterproof for a full growing season, sometimes longer.
Cut the top off, punch drainage holes, fill with a good potting mix (not garden soil — it’s too dense for containers), and plant. That’s genuinely it.
I lined up four milk cartons on my kitchen windowsill in March 2022 and grew enough basil to make pesto six times over by August. The cartons held up completely until late October before showing any signs of breaking down. For something that costs absolutely nothing, that’s a remarkable return.
Label them with a permanent marker right on the carton. Future you will be grateful when you can’t tell dill from flat-leaf parsley at a glance.
Which Herbs Actually Thrive in Small Recyclable Containers
Not all herbs play nice in tight quarters. Some want room to spread.
Best performers in small containers: basil, chives, cilantro, mint, parsley, and thyme. Compact root systems, tolerant of being slightly crowded. These are your workhorses.
Rosemary and sage technically work but prefer deeper containers — a coffee tin is the bare minimum for those two. Don’t bother with fennel or dill in anything smaller than a 1-gallon container; their tap roots go surprisingly deep.
Mint gets its own container. Always. I learned this the hard way in 2019 when my mint ate my entire chive pot over about three weeks. It will bully everything else without hesitation.
Soil, Light, and Water for Recyclable Container Gardens
The container is just the beginning. What goes inside matters just as much.
Use a quality potting mix with perlite added — roughly 3:1 potting mix to perlite. The perlite keeps drainage sharp and prevents compaction over time. A bag runs about $8 at any garden center and lasts multiple seasons.
Herbs want sun. At least 6 hours of direct light per day. A south-facing window is ideal. If your kitchen light situation is rough, a cheap $20 clip-on LED grow light makes a real difference. The AeroGarden Harvest handles its own lighting and runs about $95, but honestly, a windowsill plus a basic grow light does the job for a fraction of that price.
Water when the top inch of soil feels dry. Not before. Overwatering kills more container herbs than pests and light issues combined — it’s not even close.
Keeping Your Recyclable Herb Garden Looking Good
Because there’s a version of this that looks charming and intentional, and a version that looks like your recycling bin tipped over on the counter.
Uniformity helps more than you’d think. If you’re using tin cans, use the same size. Same spray paint color. A handwritten label tied with twine looks considered. Mismatched heights and random colors get chaotic quickly.
And harvest regularly — this is the most overlooked maintenance tip I can give you. Cutting herbs back by a third every week or so encourages bushier growth and prevents bolting (going to seed). A neglected basil plant will shoot up, flower, turn bitter, and collapse within weeks. Regular harvesting is what actually keeps the plant productive. So don’t just grow them. Use them.
Bottom Line
Here’s something nobody really talks about: building your herb garden from recyclables changes how you use those herbs. When you’ve spent ten minutes cutting, drilling, and planting yourself, you actually remember they exist. You walk past the windowsill, you pinch a basil leaf, it ends up in dinner. Store-bought herb pots die on counters unused because there’s no relationship with them. But your recycled can, your ugly little bottle planter — you made that. You’ll use it.
The barrier to fresh herbs isn’t growing them. It’s psychological ownership. And recyclable container gardens, weirdly, solve that better than anything you can buy.
Frequently Asked Questions
Can I use tin cans directly from the recycling bin without any prep?
Rinse them thoroughly with hot water and let them dry completely before adding soil. Old food residue encourages mold and attracts pests. A quick scrub with dish soap, a thorough rinse — takes less than two minutes and makes a real difference long-term.
How long do milk carton planters actually last before they fall apart?
Most waxed cartons hold up for a full growing season — roughly 6 to 8 months with regular watering. The bottom tends to soften first. If you want to extend the life, slip your carton inside a second carton for reinforcement, or set it in a shallow tray.
Do I need special soil for recyclable container gardens?
Don’t use plain garden soil from outside — it compacts badly in small containers and can introduce pests. A standard potting mix works fine. Mix in perlite at about 25% of the total volume to keep drainage sharp, especially in containers with limited drainage holes.
What’s the easiest herb to start with in a tin can planter?
Chives. They’re almost impossible to kill, you’ll see results within two weeks of planting, and they work in smaller containers than nearly any other culinary herb. Start with chives, build your confidence, then expand from there.
Photo by www.kaboompics.com on Pexels

