
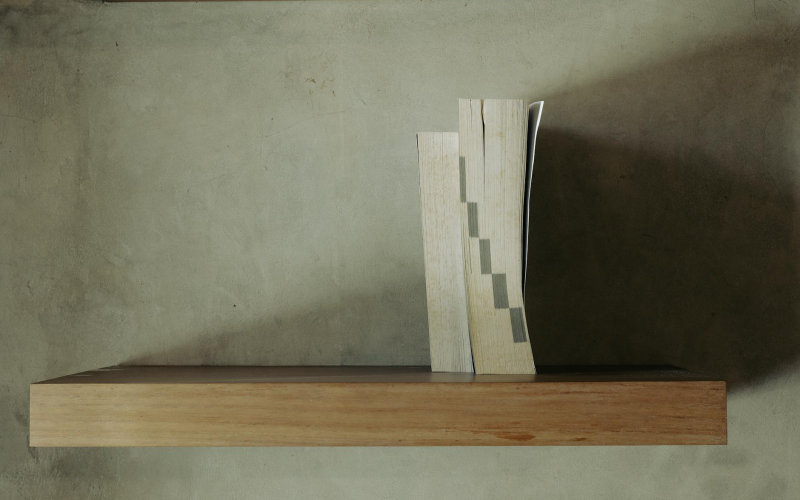

I’ve destroyed exactly three walls trying to get this right.
Not proud of it. But after years of wrestling with cheap bracket kits—ones that always left that little metal foot peeking out from the bottom edge like a bad secret—I finally cracked the method. The kind of result where guests actually squint at the wall and go, “wait, what’s holding that up?”
Here’s the thing: it’s not exotic hardware. It’s just understanding which basic materials do the structural work and which ones do the visual work, and keeping those two jobs completely separate. Everything I’m walking you through can come from a single Home Depot or Ace Hardware run. Probably under $40 total for one shelf.
What You Actually Need (Skip the Fancy Stuff)
Most tutorials will send you down a rabbit hole of custom steel rods and laser levels. Skip all that.
For a shelf up to 36 inches long and around 8 inches deep, here’s your list: a 1×8 pine or poplar board (poplar handles weight better, worth the upgrade), three or four 3/8-inch diameter steel rods cut to about 6 inches each, a drill with a 3/8-inch spade bit, wall anchors rated for at least 50 lbs each, and standard wood screws. That’s genuinely it. Total cost at a midrange hardware store in 2024 runs roughly $28–$42 depending on wood choice and whether you grab a cheap level while you’re there.
The steel rods are the hidden bracket. They slide into holes drilled through the wall studs, then into matching holes drilled into the back edge of your shelf board. No visible hardware. Nothing to paint over. Just wood appearing to float.
Finding Your Studs (This Step Is Not Optional)
Yeah, I know you’ve heard this. Do it anyway.
A $15 magnetic stud finder locates the nails in your drywall fast. But honestly, the old knock-and-listen method still works fine if your walls aren’t unusually dense—solid thud means stud, hollow tap means nothing useful. Mark both edges of each stud with pencil so you can find dead center.
For a 36-inch shelf, you want at minimum two studs, ideally three. Standard stud spacing in most American homes built after 1940 is 16 inches on center, so plan your shelf width around that reality. Your rods go directly into those studs. That’s what makes this thing hold real weight.
Drilling Into the Wall (The Part That Feels Scary)
Slow down here. This is exactly where people rush and regret it.
Mark your rod locations on the wall at stud centers. Use a level to make sure they’re all on the exact same horizontal line—even a 1/4-inch variance will make your shelf rock. Then drill into the studs at dead center, about 2.5 to 3 inches deep, using your 3/8-inch spade bit. Keep the drill as close to perfectly horizontal as you can manage. A slight downward angle—maybe 2 degrees—actually helps the shelf stay put rather than sliding forward off the rods.
And don’t drill all three holes at once then check alignment. Drill one, test a rod, confirm it’s level. Then move to the next one.
Prepping the Shelf Board (Measure Twice, For Real)
Your shelf board needs corresponding holes drilled into its back edge. This is where most people mess up—the holes in the board and the holes in the wall have to align perfectly, or the board won’t sit flush.
Here’s the technique I use. After marking and drilling your wall holes, slide your rods partway in. Then press the shelf board firmly against the wall with the rods touching the back edge, and mark exactly where each rod contacts the wood. Those marks become the centers for your board holes. Drill them about 3.5 to 4 inches deep—you want the rod buried well inside the board without threatening the front face.
Sand the holes lightly so the board slides on without binding. Takes thirty seconds and saves a lot of frustration.
Getting the Shelf On the Wall (Two-Person Job, I’m Serious)
Don’t attempt this solo. You’ll thank me.
Apply a small bead of construction adhesive—Liquid Nails works fine—inside each board hole before mounting. Not a lot, just enough to add holding power once it cures. Have your helper hold the board while you align each hole with its rod. Push the board onto the rods firmly and evenly. It should slide home smoothly and sit tight against the wall.
Wipe any squeeze-out immediately with a damp cloth before it sets. Then let it cure a full 24 hours before you load anything onto it.
Finishing It So It Actually Looks Good
Raw pine looks sad. Don’t skip this part.
Sand the board to 120 grit, then 220 grit. Wipe it down with a tack cloth. For painted walls, I almost always recommend painting the shelf to match or going with a simple white semi-gloss—it reads as architectural rather than furniture, which looks intentional and weirdly expensive. For wood-look finishes, Minwax Early American stain gives a warm walnut-ish tone without going too dark (they reformulated it slightly in 2021, worth knowing if you’ve used it before).
Fill the seam where shelf meets wall with a thin bead of paintable caulk, smoothed with a wet finger. That one detail is honestly what separates DIY from custom work.
How Much Weight Can This Actually Hold?
Depends on three things: stud quality, rod diameter, and how far the shelf protrudes from the wall.
A 3/8-inch steel rod embedded 2.5 inches into a healthy pine stud and 3.5 inches into the shelf board will handle roughly 30–40 lbs per rod before you start worrying. Two rods into two studs gets you 60–80 lbs of total capacity. Books, plants, a small TV component—a realistic amount of stuff.
But if you’re planning a media shelf or anything holding 100+ lbs, go up to 1/2-inch rods and make absolutely sure you’re hitting solid studs, not just drywall anchors.
Bottom Line
Here’s something nobody in these tutorials ever mentions: the real failure point almost never happens at installation. It happens six months later when seasonal humidity causes the wood to expand, crack around the rod holes, and gradually loosen. The fix is dead simple—seal the inside of those rod holes with a thin coat of wood glue or shellac before assembly. It stabilizes the wood fiber around the hole and stops that slow-creep loosening that turns solid shelves wobbly over time. I’ve never actually seen that tip written down anywhere, but it’s kept every shelf I’ve built since 2019 completely rock solid.
Frequently Asked Questions
Can I use this method on plaster walls instead of drywall?
Yes, but plaster is more brittle and crumbles around drill holes. Go slow, put masking tape over your drill mark to reduce chipping, and consider slightly larger wall anchors as insurance anywhere you’re between studs.
What’s the maximum shelf depth this works for?
Practically speaking, 10 inches is the comfortable ceiling for 3/8-inch rods. Beyond that, the lever force on the rod increases fast. For deeper shelves, move up to 1/2-inch rods and add a third rod if you can.
Does the wood species matter much?
It does, more than people expect. Pine is fine for decorative shelves. But for anything holding real weight, poplar or oak handles the rod hole stress significantly better. Avoid MDF entirely—it crumbles around rod holes under load.
What if my rods won’t slide in smoothly?
Rub a little paraffin wax or dry bar soap on the rods before installing. Don’t use oil-based lubricants—they’ll prevent the construction adhesive from bonding properly.
Photo by Yazid N on Pexels

