

I’ve rewired outlets, swapped out light fixtures, and done a fair amount of electrical work around my own house over the years. And every single time I mention replacing a dimmer switch myself, people look at me like I just said I performed minor surgery on my kitchen table. Electricity scares people. I get that. But honestly? Installing a dimmer switch is one of the most beginner-friendly electrical jobs you can knock out on a Saturday morning.
We’re talking 45 minutes of actual work. No special license. No permits for a basic switch swap. And you’ll skip the $100–$175 most electricians charge just to pull into your driveway — before they’ve touched a single wire.
So here’s exactly how I do it. Step by step, no fluff.
What You Need Before You Touch Anything
The tool list is short. That’s kind of the whole point.
You’ll need a flathead screwdriver, a Phillips-head, a non-contact voltage tester (get one if you don’t already — they’re around $12 on Amazon and genuinely worth owning), wire strippers, and electrical tape. That’s it.
For the dimmer itself, I’d nudge you away from the cheapest option on the shelf. Lutron’s Caseta line is solid — they’ve been in the lighting control business since 1961 and it shows. A good smart dimmer runs $35–$60 at Home Depot or Lowe’s. Basic non-smart version? $8–$15. Your call.
One thing you absolutely can’t skip: check your bulb type before buying anything. LED dimmers and incandescent dimmers aren’t interchangeable. Most homes have LED bulbs now, so make sure the box specifically says “LED compatible.” I’ve watched people gloss over this and end up with a buzzing, flickering mess that drives them insane.
Turn Off the Power — And Actually Verify It’s Off
No shortcuts here. Go to your panel, flip the breaker for that room.
But don’t just assume the breaker did its job. Walk back to the switch and hold your voltage tester near the plate. No beep, no light? You’re good. Safe to proceed.
I also flip the wall switch on and off after cutting power just to confirm the light truly doesn’t respond. Old houses especially can have bizarre wiring where a switch sits on a completely different circuit than logic would suggest.
Remove the Old Switch
Unscrew the cover plate (usually two screws). Then there are two more screws holding the actual switch in the box. Pull the whole assembly out slowly — there’s typically a few inches of wire slack to work with.
Here’s where people freak out. Don’t. You’ll see wires — probably black, white, and bare copper for ground. Older homes might throw in a red wire too. Before you disconnect anything, take a photo with your phone. Seriously, do it right now. That photo is your map back if things get confusing.
Standard single-pole dimmers connect to the two traveler wires (usually both black, or black and white) plus the bare copper ground. The old switch is held on by screw terminals — just loosen them and pull the wires free.
Understand Your Wiring Situation
Three-way switches — the kind where one light is controlled from two different spots — are a little more involved. They use a third wire called a traveler. If that’s your setup, just buy a three-way compatible dimmer. Lutron’s Diva 3-way handles this well and ships with clear instructions.
Single-pole setups (one switch, one light) are what most people are dealing with. Two wires to the dimmer, ground attached, done.
And if you spot a bare copper wire with nowhere obvious to go on your old switch — that’s your ground. It connects to the green screw on the new dimmer. Don’t skip it.
Connect the New Dimmer Switch
Most modern dimmers come with lead wires already attached — little pre-wired pigtails sticking out. You’ll join your home’s wires to these using wire nuts, the small plastic twist connectors that usually come in the box.
Strip about 3/4 inch of insulation off each wire end. Twist matching wires together (black to black lead, white to white where applicable), then thread on a wire nut clockwise until it seats snugly. Give each one a firm tug. If it pulls loose, twist it tighter.
Green wire or green screw on the dimmer connects to your bare copper ground. Non-negotiable. Grounds exist for a reason and this isn’t the place to improvise.
Now fold the wires back into the box. This is where patience comes in — older boxes are tight and there isn’t much room. Just work slowly, tuck everything in gently, and don’t force anything.
Mount It and Test It
Screw the dimmer into the box with the provided screws. Snap on the cover plate. Head back to the panel and flip the breaker on.
Turn the dimmer on. Slide the control. Watch the light respond. That moment is genuinely satisfying every time, even after doing this a dozen times.
If the light flickers at low settings, check for a small adjustment screw — usually tucked behind the cover plate — that lets you set the minimum brightness threshold. Lutron dimmers are particularly good about including this feature. A small turn and the flicker usually disappears.
Bottom Line
Here’s something I haven’t seen many people actually mention: dimmer switches pay for themselves faster than you’d think, and the bigger reason isn’t just energy savings. Sure, a 2019 study from the Lighting Research Center at RPI found that dimming LEDs to 50% cuts their energy draw by roughly 40%. But the real win is bulb lifespan. Running your LEDs at 75% brightness instead of 100% consistently extends their rated hours — and at $10–$15 per quality LED bulb, that math stacks up over a few years in ways the standard “save electricity” pitch never quite captures. You’re not just trimming your power bill. You’re pushing off replacement costs too.
Frequently Asked Questions
Can I install a dimmer switch in a room with multiple bulbs on one circuit?
Yes. Just don’t exceed the dimmer’s wattage rating — it’s printed right on the box. A standard 600W dimmer handles 10–12 typical LED bulbs without breaking a sweat.
What if I open the switch box and find four or five wires?
Snap a photo immediately and don’t touch anything yet. Four or five wires usually means the switch sits mid-circuit (a “switch loop”). The photo helps you figure out which wires go together. And if you’re still unsure, a quick phone call to a local electrician for advice — not a visit — can save you a real headache for about $5.
Will any dimmer switch work with LED bulbs?
No, and this actually matters. Dimmers made for incandescent bulbs cause LEDs to flicker, buzz, or burn out ahead of schedule. Look specifically for “LED compatible” or “LED/CFL” labeling on the packaging before you buy.
Do I need to replace all the bulbs in the room with dimmable LEDs?
Yes. Non-dimmable LED bulbs will flicker, hum, or fail early on a dimmer circuit. Dimmable versions cost about $1–$2 more per bulb. Worth every penny.
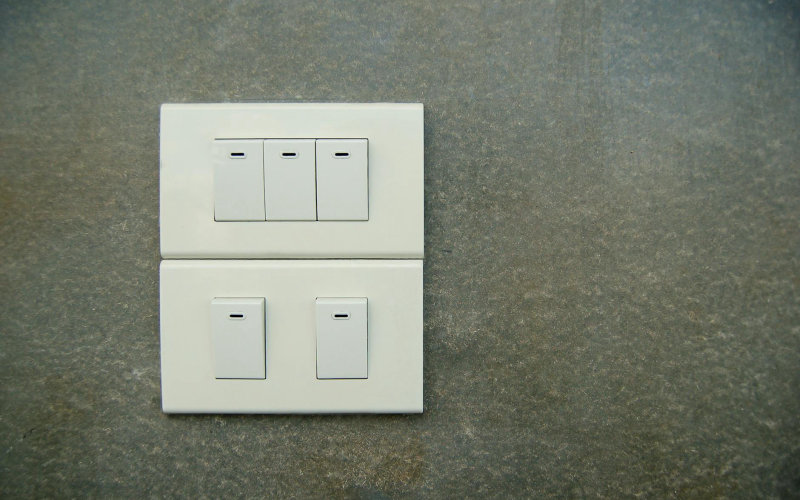
Photo by Srattha Nualsate on Pexels

