

I’ve watched homeowners slap on joint compound, sand it down, paint over it, then stand back absolutely horrified when the repair shows through like a bruise under a white shirt. It happens constantly. And it doesn’t have to.
The difference between a visible patch and an invisible one isn’t luck or raw talent. It’s knowing a handful of specific techniques that most YouTube videos blow right past. I’ve been patching drywall since 2004 — hundreds of repairs, my own houses, friends’ places, the whole gamut — and the same mistakes keep showing up. Nail pops, doorknob craters, plumbing access holes, furniture disasters. All fixable. All capable of vanishing completely if you do it right.
This guide covers holes roughly 6 inches and larger. The ones that actually scare people. Small screw holes are nothing. A fist-sized crater from a doorknob, or a 12-inch cutout left by a plumber? That’s where real technique lives.
The One Mistake That Ruins Every Drywall Patch
Skipping the backing. Full stop.
For holes bigger than about 4 inches, you cannot just slap a mesh patch kit over the opening and call it done. The mesh flexes. It cracks. You’ll see it within six months, guaranteed. What you actually need is a rigid backing system — something to screw new drywall into so the patch behaves exactly like the original wall around it.
The California patch method works beautifully for mid-sized holes (roughly 5 to 8 inches). Cut a drywall piece about 4 inches larger than your hole on all sides, score the back, snap off the gypsum core, and you’re left with facing paper extending beyond the patch itself. That paper feathers directly into the wall. No backing board required. For anything larger than 8 inches, though, you want actual wood or metal backing strips screwed inside the wall cavity.
Cutting the Hole to a Clean Shape First
Here’s what most people flat-out refuse to accept: you need to make the hole bigger before you can fix it.
I know. Feels completely backwards. But a jagged, irregular opening is nearly impossible to patch cleanly. A neat rectangle with crisp edges? Totally manageable. Use a drywall saw or an oscillating tool (the Fein MultiMaster has been my go-to since 2018) to reshape the damage into something clean.
Square your lines with a speed square. Make deliberate cuts. The extra 10 minutes you spend here saves you from three rounds of skim coating just to hide irregular edges.
And while you’re in there — check for wires, pipes, insulation. Never cut blind. Ever.
Choosing the Right Patch Method for Your Hole Size
Size determines method. Don’t let anyone sell you on one universal approach.
For 1 to 4 inches: Self-adhesive mesh patch kits (the Saint-Gobain ADFORS ones hold up well) combined with setting-type compound like Durabond 45. Quick, solid, done.
For 4 to 8 inches: California patch or backing strips screwed perpendicular inside the opening. Cut your replacement drywall from 1/2-inch or 5/8-inch stock to match what’s already on your wall — this matters more than people realize. A 1/2-inch patch in a 5/8-inch wall creates a subtle low spot that telegraphs straight through paint.
For anything over 8 inches: Wood backing strips (1×3 or 1×4 pine) or metal furring channels screwed inside the cavity, flush with the wall face. Screw your replacement panel to those strips. Tape the seams with paper tape, not mesh — paper holds better under joint compound for any seam that’s actually bearing stress.
The Compound Layering Process (Where Most People Rush)
This is the patience part. And patience is exactly what most DIYers are running low on.
Your first coat is about filling, not finishing. Use setting-type compound (Durabond or Easy Sand 45) for that first coat over the tape and any gaps. It hardens chemically rather than drying by evaporation, which means less shrinkage and a more stable base underneath everything else.
Coats two and three use regular all-purpose or topping compound. Each coat goes wider than the last — first coat maybe 8 inches, second coat 12, third coat 18 or more. That progressive feathering is what makes repairs disappear. Each layer should be thin enough that you can barely tell you applied anything once it dries.
Three coats minimum. Four if the repair is substantial. Let each coat dry completely before the next — I wait 24 hours as a rule, though a warm dry room speeds things along. Rushing this is precisely how you end up with cracks.
Sanding Without Creating a Disaster
Drywall dust is genuinely awful. Wear an N95, not some flimsy paper dust mask.
Between coats, use 120-grit sandpaper on a pole sander. For final sanding, drop to 150 or 180-grit. You’re not grinding compound down — you’re knocking off ridges and tool marks. Gentle passes. The stuff is soft and cuts fast.
The biggest sanding trap is dishing out the center — sanding the middle of the repair more than the edges, leaving a subtle concavity that catches raking light like a spotlight. Keep your strokes long and even, extending 6 to 8 inches past the repair perimeter.
Then grab a work light and hold it at a sharp angle to the wall. Every flaw shows up this way. Brutal, honestly, but completely necessary.
Priming Before Painting (This Step Is Not Optional)
Fresh joint compound is porous. Paint it without priming first and it soaks in unevenly — the patch shows up as a dull flat spot even when the color matches perfectly. That’s called flashing, and it’s maddening after everything you just put in.
Use a PVA drywall primer (Zinsser Gardz or Sherwin-Williams ProMar Drywall Primer both do the job). One coat, dry fully, then a light pass with 220-grit before your finish paint goes on.
And match your paint sheen to the existing wall. Flat hides imperfections. Eggshell and satin expose them. If your walls are eggshell and you touch up with flat, the patch will be obvious under certain light no matter what else you did right.
Bottom Line
Here’s something I genuinely haven’t seen written anywhere else: the final invisibility of your patch depends less on your compound skills and more on replicating the existing wall texture before you prime. Most walls aren’t perfectly smooth — they carry a subtle roller texture from the original paint job. So after your final sand, roll on a very thin coat of diluted all-purpose compound (watered down to roughly a milk consistency) using the same nap roller that was originally used on the wall. This rebuilds that micro-texture and makes the repaired area blend into the surrounding surface at something almost cellular — not just visual. Skip this step and your patch will always read slightly different under direct light, no matter how perfect your feathering was.
Frequently Asked Questions
How long does it take to patch a large drywall hole from start to finish?
Realistically, 3 to 4 days for large repairs if you’re letting each compound coat dry properly. Total working time is maybe 2 to 3 hours. But the waiting is non-negotiable.
Can I use spackle instead of joint compound for a large hole?
No. Spackle shrinks significantly and isn’t built for repairs over a few inches. Use setting-type compound for base coats and all-purpose or topping compound for finish coats.
What thickness drywall should I use for the patch?
Match what’s already in your wall. Standard interior walls are 1/2-inch drywall. Ceilings and some walls run 5/8-inch. Measure the existing material in the hole before you buy anything.
Why does my repaired area still show through after painting?
Almost always one of three things: you skipped the PVA primer, your paint sheen doesn’t match the surrounding wall, or you didn’t feather your coats wide enough. The texture mismatch issue described above is the fourth culprit — and the one nobody talks about.
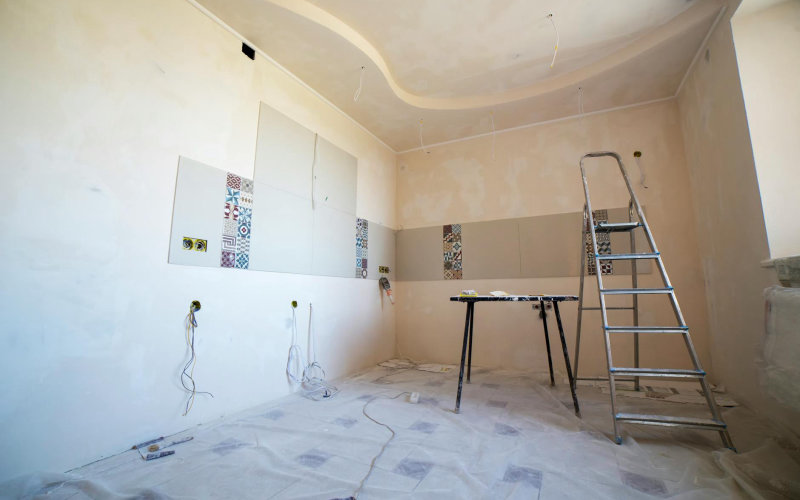
Photo by Valentin Ivantsov on Pexels

