
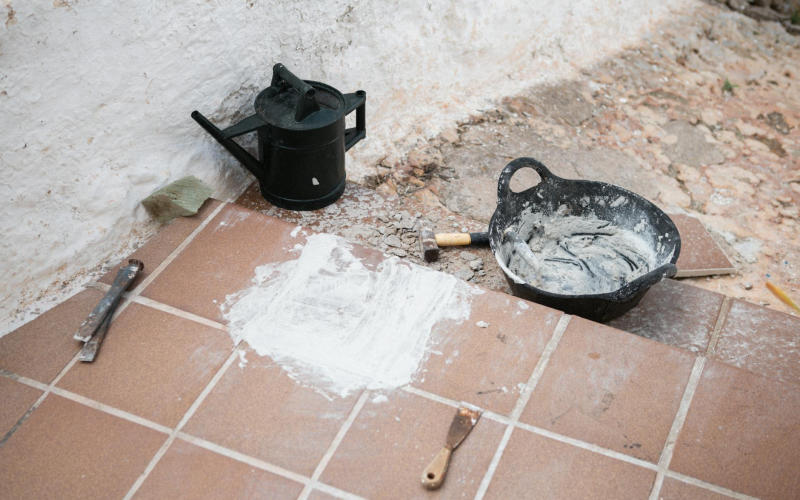

I’ve watched people spend entire weekends tiling a bathroom floor, grouting until their knees scream, cleaning up the haze, stepping back with genuine pride — and then calling a contractor 18 months later because half the tiles are hollow-sounding, cracked, or actively lifting at the edges.
It’s not bad tile. Almost never.
What kills most DIY tile jobs happens before you crack open that first bag of thinset. The substrate — whatever your tile is actually bonded to underneath — is where everything either holds together for 20 years or quietly disintegrates while you’re not paying attention.
The Deflection Problem Nobody Explains at the Hardware Store
Here’s a number most DIYers have never encountered: L/360. That’s the minimum floor stiffness standard for tile installation — your floor can deflect no more than 1 inch for every 360 inches of span under load. A standard residential joist system built before 1990 often doesn’t hit this mark. Builders weren’t thinking about tile back then. They were thinking carpet and vinyl.
So you tile over a floor that flexes slightly when you walk across it. The thinset cures rigid. The floor keeps moving. Two years later, cracked grout, hollow tiles, and lippage that catches your foot at 2am.
The fix isn’t complicated, but it requires honestly admitting your subfloor might not be ready. Adding a layer of 3/4-inch plywood, screwed every 6 inches with coarse-thread screws, can dramatically cut deflection before you’ve touched a single tile. But most YouTube tutorials skip right past this because, well, it’s not the visually satisfying part.
Why Most People’s Subfloor Moisture Testing Is a Joke
I mean that respectfully. People press a hand to the concrete, feel nothing wet, and declare it “dry enough.” That’s not moisture testing. That’s guessing.
Concrete slabs can wick moisture upward for years. A 2019 study by the Concrete Moisture Council found that 85% of concrete floors in residential settings showed moisture vapor emission rates above 3 lbs per 1,000 square feet per 24 hours — which is the threshold many tile adhesive manufacturers actually care about.
The right move? Tape a 2-foot square of plastic sheeting flat to your concrete for 24 hours, duct tape on all four edges. If there’s condensation underneath, or the concrete darkens, you’ve got a real moisture problem. And laying tile over it means your thinset bond will eventually fail from below, no matter how flawless your technique was on top.
Calcium chloride test kits run about $30 at tile supply stores. Thirty dollars to avoid ripping out $2,000 worth of tile and labor. It’s not a hard call.
The Skim Coat Step That Most Tutorials Treat as Optional
It’s not optional. Not even slightly.
Any high spot or low spot greater than 3/16 of an inch across a 10-foot span will cause problems — either in your setting bed thickness or your finished floor level. Most subfloors aren’t flat. They’ve got dips near doorways, humps where a joist shifted, old seams that telegraphed through years ago.
Self-leveling underlayment — brands like Ardex K-15 or Henry 547 — fixes most of this. But here’s where people go wrong: they pour it without priming the surface first. Concrete or plywood needs a bonding primer (Ardex P-51 is what I’ve used successfully for years) or the leveler just shrinks, cracks, and peels away from the edges. You’ve added a problem instead of solving one.
Pour it, let it cure fully (usually 24 hours minimum — check the actual bag, not a forum post), and run a 6-foot straightedge across the surface before you unroll your layout lines.
Why Cement Backer Board Is Being Done Wrong in Almost Every DIY Video
Cement board is great. But the way most people install it defeats the entire purpose.
First, the gaps. You’re supposed to leave a 1/8-inch gap between cement board sheets and a 1/4-inch gap at walls. Nobody does this. They butt the sheets tight, the board expands slightly with humidity, and you get a ridge that telegraphs right through your finished tile.
Second — and this one genuinely baffles me — people skip the thinset bed underneath the cement board. You’re supposed to float a thin layer of unmodified thinset under each sheet before screwing it down. This fills voids and stops the board from flexing over low spots in the subfloor. Without it, the board acts like a drumhead and eventually cracks along the screw lines.
And third: tape the seams with alkali-resistant mesh tape, embedded in thinset. Not drywall compound. Not regular joint compound. Thinset. A contractor friend of mine (22 years in the trade) says he can tell immediately whether someone did this just by listening to how the wall sounds when you knock near a grout line.
Thinset Mixing: The Silent Killer of Perfectly Prepped Substrates
You could do everything above correctly and still blow it here.
Modified thinset mixed too wet looks easier to work with. It spreads nicely, combs out smooth, everything feels right. But soupy thinset shrinks as the polymers cure, and that shrinkage breaks the bond — especially under larger format tiles (anything 12×24 or bigger, which is basically every popular tile right now).
Mix it to peanut butter consistency. Let it slake 10 minutes after initial mixing, then remix briefly. It should hold a ridge when you drag your trowel through it without slumping back down. If it slumps, it’s too wet. Start over with fresh material — don’t just add more powder to fix it.
Trowel size matters more than people admit. For 12×24 tiles, a 1/2-inch by 1/2-inch square-notch trowel is the minimum. For 24×24, some installers step up to a 3/4-inch notch. You want 95% back-coverage on the tile — pull one up 15 minutes after setting it and check. Really check.
Bottom Line
Here’s something I’ve never seen written plainly anywhere: most DIY tile failures aren’t installation failures. They’re diagnosis failures. The actual application of tile is genuinely learnable in a weekend. What nobody teaches you is how to look at your specific floor, in your specific house, and honestly assess whether it’s ready for tile at all. A 1960s ranch with bouncy floors needs completely different preparation than 2010 slab-on-grade construction. These substrate steps aren’t a checklist — they’re a diagnostic process. And skipping the diagnosis is why the same mistakes happen over and over to smart, capable people who just weren’t given the right questions to ask before they started.
Frequently Asked Questions
How long should I wait before grouting after setting tile?
At minimum, 24 hours for standard modified thinset in normal conditions (65-85°F, moderate humidity). In cold or humid environments — a basement in November, say — wait 48 hours. Walking on tile before the thinset has fully cured shifts tiles microscopically, and you won’t notice until the grout cracks six months later.
Can I tile directly over existing tile?
Sometimes. But you’re adding weight and height, and if the existing tile isn’t 100% bonded (tap each one and listen for a hollow sound), old failures will transfer right through to your new layer. Sound tiles, solid bond, clean surface? It can work. Even one or two hollow spots underneath? Remove everything and start fresh.
What’s the best way to test if my floor has enough stiffness for tile?
Stand in the center of the room and jump lightly. Then get down low and look across the floor while someone else walks near the walls. Any flex, any shimmy in the surface? That’s movement your thinset can’t handle long-term. You can also check your joist span against the Tile Council of North America’s deflection tables — they’re free online and genuinely worth your time.
Does the brand of thinset actually matter?
Yes, but not how most people think. The brand matters less than matching the thinset type to your tile and substrate. Large-format porcelain over cement board needs medium-bed mortar, not standard thinset. Natural stone needs white non-sanded thinset to avoid staining. Read the tile manufacturer’s installation specs — they specify what adhesive type to use, and using the wrong category voids the tile warranty.
Photo by Raymond Petrik on Pexels

