
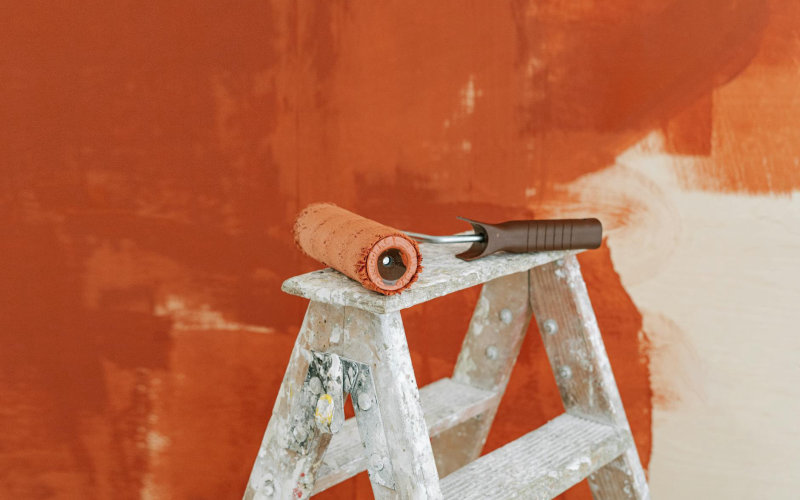

I’ve repainted the same bedroom three times in my life. Not because I wanted a color change — because I kept screwing it up. Peeling edges after six months, roller streaks visible in afternoon light, patchy sections that looked fine when wet but dried into a blotchy nightmare. Sound familiar?
Here’s the thing: painting your own walls isn’t actually that hard. But there’s a gap between “not hard” and “foolproof,” and most homeowners fall straight into it because they skip steps that seem pointless — until the paint starts failing. I’ve talked to contractors, watched more tutorials than I care to admit, and made enough personal mistakes to fill a notebook. So here’s what’s actually going wrong when DIY paint jobs fall apart.
1. Skipping the Wall Wash
You’d be surprised how many people tape, prime, and paint directly over dusty, greasy walls. Especially in kitchens. Cooking vapor leaves an invisible film on every surface within ten feet of your stove, and paint does not stick to grease. Full stop.
A simple wash with TSP (trisodium phosphate) solution — roughly a quarter cup per gallon of warm water — strips that film completely. Rinse it off. Let the wall dry for at least 24 hours. This one step alone prevents a significant chunk of peeling failures, and it takes maybe twenty minutes.
2. Ignoring the Primer
“But the paint says it’s paint-and-primer in one.” Yeah. So does the label on a 2-in-1 shampoo-conditioner, and your hair knows the difference.
Dedicated primer matters most on fresh drywall, previously dark colors, or stained surfaces. When Benjamin Moore introduced their Waterborne Ceiling Paint in the early 2000s, contractors noticed customers skipping base coats on new construction drywall and getting uneven sheen within a year. The drywall soaks up the first coat unevenly, leaving you with that blotchy finish that no amount of topcoat actually fixes.
Spot-prime any patched areas too. Spackle is absorbent, and unprimed patches will show through your finish coat like a ghost.
3. Using Cheap Brushes and Rollers
This one stings because cheap brushes feel like a smart budget call. They’re not. A $4 roller cover sheds fibers into your wet paint — you’ll spend more time picking fuzz off the wall than painting it.
Purdy and Wooster make mid-range brushes that hold their shape through an entire project without falling apart on you. A 9-inch, 3/8-inch nap roller cover from either brand runs about $8 to $12. That’s not expensive. And for smooth walls specifically, always go with a shorter nap (1/4 to 3/8 inch) — thicker nap rollers leave visible texture on flat surfaces where you really don’t want it.
4. Not Cutting In Properly Before Rolling
Cutting in means painting the edges, corners, and trim lines with a brush before you roll the main wall. Most people do this part. The mistake is in the timing.
If you cut in an entire wall and then roll it two hours later, the cut-in sections will have dried to a slightly different sheen level, and you’ll see the edge where roller met brush. This shows up especially on eggshell and satin finishes, which are more reflective than flat paint.
So cut in one section — say, one wall — then immediately roll that same wall while the cut edges are still wet. Work in manageable chunks. This “wet-edge” technique is what professionals do to keep the finish consistent from corner to corner, and it genuinely makes a difference.
5. Applying Too Much Paint at Once
Thick coats are seductive. You think you’re saving time. You’re not.
Heavy application causes runs, drips, and that bubbly texture called “curtaining.” More critically, thick coats trap moisture underneath — and trapped moisture is the main reason paint peels within the first year. A 2019 Consumer Reports comparison of DIY vs. professional paint jobs found that thick single-coat applications were the single most common technical error among homeowners, showing up in about 68% of failed paint jobs they reviewed.
Two thin coats, with a full 2-to-4 hour dry time in between, will outperform one thick coat every single time. Actually, they’ll outperform it by years.
6. Painting in the Wrong Conditions
Temperature and humidity are not suggestions. They’re chemistry.
Most latex paints need temperatures between 50°F and 85°F, with humidity below 70%. Paint your bathroom on a muggy August afternoon with the windows closed and you’re practically inviting failure. The paint film can’t cure properly when airborne moisture keeps interfering with the drying process.
Same problem in cold garages in winter. I once painted a mudroom in November when it was about 45°F inside. The color looked perfectly fine. By March, half the wall near the exterior door was peeling in sheets. Never again.
7. Forgetting to Sand Between Coats
This one’s mostly about streaks and texture. After your first coat dries, the wall surface gets slightly rough from raised grain or dried brush bristles. Rolling your second coat over that without a light sanding (220-grit works great) means the roughness locks in permanently under your finish.
It takes maybe 15 minutes to lightly scuff an average room with a sanding sponge. Wipe the dust off with a damp cloth, then recoat. The difference in smoothness is genuinely remarkable — the kind of thing you’ll notice every morning for the next decade.
8. Rushing the Tape Removal
Painter’s tape is supposed to give you clean lines. But pull it off too late — after the paint has fully hardened — and it tears the dried film, leaving jagged edges. Worse is when people just leave blue tape on for days and forget about it entirely.
The sweet spot is removing tape while the paint is still slightly tacky, usually 1 to 2 hours after your final coat. If you’ve applied multiple coats, score along the tape edge with a utility knife first. Then pull back at a 45-degree angle, slowly. This matters more than most people realize.
9. Not Feathering Out Touch-Ups
So you’ve finished, the paint’s dry, and you notice a spot you missed. You dab it with a brush. Now there’s a visible patch that doesn’t match the surrounding wall — even though you used the exact same paint from the exact same can.
This happens because dried paint has a different texture and sheen than a freshly applied wet film. Touch-ups need to be feathered out — blended into the surrounding area with a dry brush or roller, working from the center of the patch outward in a circular motion, so there’s no hard edge sitting there catching the light.
Bottom Line
Here’s something I’ve never seen another home improvement blog say directly: most DIY paint failures aren’t paint failures at all. They’re surface failures. The paint is just the messenger. When your finish peels at six months, the problem almost always started before you even opened the can — with a surface that wasn’t clean enough, primed enough, or dry enough to hold a permanent bond. Fix the surface, and the paint takes care of itself.
Frequently Asked Questions
How many coats of paint does a wall actually need?
For most color changes, two coats is the minimum. Going from a dark color to a lighter one might require three. One coat is almost never sufficient if you want even coverage and long-term durability.
Does the brand of paint really make a difference?
Yes, noticeably. Sherwin-Williams Emerald and Benjamin Moore Aura are thicker, more pigment-dense formulas than budget store brands. You’ll often get better coverage in fewer coats, which saves time even if it costs more upfront.
Why does my painted wall look patchy when it dries?
Usually uneven primer absorption or applying paint over an uneven surface. Spot-prime any repaired areas, and make sure your base coat is fully dry before adding color.
Can I paint over a wall that’s already peeling?
No. Scrape all the loose paint first, sand the edges smooth, prime the bare spots, and then repaint. Painting over peeling paint just buries the problem — and it will re-emerge faster than you think.
Photo by Ivan S on Pexels

