

I bought my first house in 2011 and walked in with exactly zero tools. Not even a hammer. My dad thought that was hilarious. My first weekend there, a towel bar fell off the bathroom wall and I genuinely had no idea where to begin.
Twelve years and roughly forty home projects later, I’ve figured out the hard way which tools actually earn their shelf space — and which ones sit there collecting grime until they end up at a garage sale. This guide isn’t about buying everything at once. It’s about building something intentional. A toolbox that solves real problems on a random Tuesday night when a shelf bracket snaps or a door hinge decides it’s done.
So here’s what I actually keep in my garage, why each piece matters, and what to skip when you’re just getting started.
The Cordless Drill: Non-Negotiable, Full Stop
No tool has saved me more time and frustration than a good cordless drill. Assembling flat-pack furniture, hanging curtain rods, driving screws into deck boards — this thing touches almost every project I tackle.
My current pick is the DeWalt DCD771C2 20V MAX, which runs around $119 on Amazon and has held up through genuinely punishing use over the past three years. Two batteries included means you’re never standing there waiting for a charge mid-project. That matters more than you’d think.
Don’t cheap out here. A $35 drill from a discount bin will strip screws, wobble on bits, and die inside 18 months. Buy once, buy decent.
A Combination Square (The Tool Nobody Talks About)
Seriously underrated. Most beginners skip this one — then spend 20 minutes wondering why their shelf is crooked or their cut came out slightly off-angle.
A combination square gives you a precise 90-degree and 45-degree reference in one small tool. The Mr. Pen version goes for under $9 and has a built-in bubble level, which honestly makes it useful for way more than just marking cuts. I’ve used mine to check picture frames, verify cabinet alignment, and mark rafter angles.
Small tool. Huge difference in finished quality.
A Circular Saw (Once You’re Ready to Cut More Than Cardboard)
Here’s the honest truth: a handsaw is fine for occasional, small cuts. But if you’re trimming a door, cutting shelving boards to size, or doing any kind of real woodworking, manual sawing will wreck your arms and your patience.
The Makita XSH06PT 36V circular saw is what I’d recommend if you’re ready to invest in a serious tool — it rivals corded saws in power, and the battery system is compatible with other Makita tools, which matters when you start building out a collection. It runs around $350, which isn’t cheap. But compared to paying a contractor $80/hour to make a cut you could do yourself in four minutes, it pays for itself fast.
A mid-range option like the SKILSAW SPT67WMB-01 sits around $130 and handles most homeowner-level projects just fine.
Pliers: Get a Set, Not Just One
People buy one pair of needle-nose pliers and call it done. Then they strip a fitting trying to use the wrong tool for the job. Been there.
A proper pliers set covers groove joint, linesman, diagonal, and long-nose variations — which sounds like overkill until you’re wedged under a sink trying to grip a stubborn compression fitting and your single pair of needle-nose isn’t going to cut it. The WorkPro 7-piece set costs about $20 total and has tens of thousands of positive reviews. Twenty dollars. Just get it.
A Level (Because “Looks Straight” Is Never Straight)
Your eyes lie to you. Every single time.
I hung a gallery wall in 2019 without a level because I was impatient. Spent an hour eyeballing it. Looked great. Next morning in different lighting, the whole thing ran noticeably uphill to the left. I had to re-patch four holes and start from scratch.
The Stabila Pro Set gives you three levels — 12, 24, and 48 inches — for around $60, which covers basically every residential scenario you’ll run into. The rubber end caps keep it from sliding off surfaces while you mark, which sounds minor but is genuinely useful when you’re working alone.
A Shop Vac (Seriously, This Changes Everything)
Not glamorous. Not exciting. But the moment you own a wet/dry shop vac, you’ll wonder how you ever managed without one.
Drywall dust, sawdust, spilled paint water, soggy insulation after a leak — regular household vacuums aren’t built for any of that. The Ridgid 12-Gallon 5.0 HP shop vac runs about $100 at Home Depot and handles all of it without complaint. I’ve had mine since 2016 and it’s still running strong.
And it pulls double duty when your kid spills an entire cup of water on the garage floor. So there’s that.
A Hammer, Tape Measure, and Utility Knife (The Trinity)
These three belong together because they’re the baseline. The floor. If you have nothing else, have these.
A 16-oz claw hammer handles framing nails, finish nails, and demo work without being too heavy to control. For a tape measure, the Stanley FatMax 25-foot model (around $20) is what most contractors I know personally carry — the blade is stiff enough to extend without flopping, which matters when you’re measuring solo. And a utility knife with snap-off blades handles drywall scoring, carpet cutting, box opening, and about thirty other tasks you encounter monthly as a homeowner.
But don’t buy the cheapest hammer you find. A bad balance is exhausting to work with over any stretch of time.
Bottom Line
Here’s something I haven’t seen anyone else say plainly: the most expensive tool mistake isn’t buying cheap tools — it’s buying expensive tools in the wrong order. Most new homeowners impulse-buy a miter saw before they own a decent level. Or they drop $200 on a random orbital sander before they even have a proper drill. The sequence matters as much as the quality.
Start with the drill, the tape measure, the hammer, and the pliers. Get comfortable with those. Then add a level and a circular saw when a specific project actually demands them. Buy tools in response to real problems you’re facing, not some idealized version of projects you might do someday. That approach will build you a genuinely useful toolbox in about 18 months without flushing $500 on stuff that just sits on a shelf.
Frequently Asked Questions
How much should I budget to build a basic starter toolbox?
Realistically, $150 to $250 covers a solid foundation — a decent cordless drill, tape measure, hammer, pliers set, level, and utility knife. You don’t need to buy everything at once. Add tools as specific projects come up.
Is it better to buy individual tools or pre-assembled toolbox sets?
Individual, almost always. Pre-assembled sets tend to pad the count with low-quality pieces you’ll never use. The two or three good tools buried in a 40-piece kit would’ve cost less bought separately — and in better quality.
What’s the single most useful tool for a first-time homeowner?
A cordless drill. Nothing else comes close for sheer frequency of use. It handles assembly, installation, fastening, and basic repairs across essentially every room in the house.
Do I need both a circular saw and a reciprocating saw?
Not right away. Start with a circular saw — it handles clean, straight cuts in wood and covers most DIY cutting needs. A reciprocating saw is more of a demolition tool, useful when you’re opening walls or cutting through mixed materials. Add it when you actually have a project that needs it.
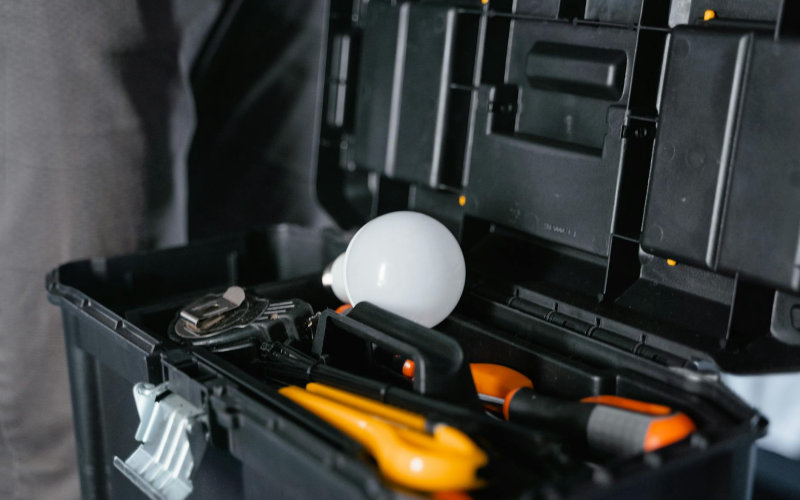
Photo by MART PRODUCTION on Pexels

