

That squeak. You know the one. It happens at 6 a.m. when you’re trying to tiptoe to the kitchen without waking anyone up, and the floor announces you like a drumroll. Every. Single. Time. Most homeowners assume fixing it means tearing up boards, calling a contractor, and spending a weekend in chaos. That belief is costing you time, money, and sleep.
Here’s the truth most home improvement guides won’t tell you: the vast majority of squeaky hardwood floors can be silenced without pulling up a single board. The squeak is almost never the wood itself — it’s friction between boards, between boards and the subfloor, or between joists and the subfloor underneath. Fix the friction, you fix the squeak. That’s it. That’s the whole game.
I’ve been in enough houses — my own included — to know that most people overcomplicate this. When our century-old Victorian started serenading us at 2 a.m., I spent about $11 and one Saturday afternoon solving it. No contractor. No sledgehammer. Here’s exactly how you do it.
Understanding Why Your Floor Squeaks in the First Place
Wood moves. That’s not a flaw. that’s physics. Hardwood expands and contracts with humidity and temperature, and over time, that movement creates gaps between boards, between the floor and the subfloor, and around the nails holding everything together. When you step on a board that’s shifted even a millimeter, it rubs against its neighbor or rocks against a loose nail shank. Squeak.
Seasonal changes make this worse. In dry winter months, boards shrink and gaps widen. In humid summers, they swell back. If your floor squeaks more in January than July, that’s your answer right there.
The Lubricant Method (Start Here, Seriously)
Before you do anything else, try this. Sprinkle powdered graphite, talcum powder, or even regular baking flour into the gaps between the squeaking boards. Then walk back and forth across that spot to work it in. The powder lubricates the wood-on-wood friction that’s causing the noise.
This sounds almost too simple. But I’ve watched this fix a squeak that had plagued my office floor for three years, and it took maybe four minutes. Powdered graphite is the most durable option. a tube costs around $4 at any hardware store, and it won’t wash out with regular mopping.
Now, if you have surface-finished floors and don’t want any residue, use WD-40 Specialist Dry Lube instead. Spray it into the seams, let it dry completely, and it leaves almost nothing behind. This won’t fix every squeak, but it handles a surprising number of them, especially in floors that are relatively new or only mildly affected.
Working From Below: The Subfloor Fix That Changes Everything
If you have access to the floor from below. meaning you have an unfinished basement or a crawl space, you’re in an incredibly strong position. This is where you can solve the squeak permanently without touching the finished floor at all.
Have someone walk the floor above while you’re underneath with a flashlight. Watch for movement. When you see a board flexing against the subfloor, that gap is your target.
Squeeze construction adhesive. Liquid Nails works well here, into that gap, then hold a 2×4 flat against the subfloor and the joist simultaneously to bridge the gap while the adhesive cures. You can also drive a short screw up through the subfloor into the hardwood, but keep this critical: the screw must be short enough that it doesn’t penetrate through the top of the hardwood. Measure twice.
A 1-inch screw is usually safe for 3/4-inch hardwood over 3/4-inch subfloor, but measure your specific situation before committing.
And if you spot a joist that’s pulling away from the subfloor? Drive screws through the joist into the subfloor at an angle. That one repair alone silenced three separate squeaks in my basement in 2024.
The Screw-From-Above Technique Using the Squeeeeek No More Kit
This is the method most guides gloss over, and it’s genuinely brilliant. The Squeeeeek No More kit. available at most Home Depots for around $22, uses specially designed breakaway screws that you drive down through the hardwood at an angle, into the subfloor and joist below. The screw head snaps off below the surface of the wood when you apply pressure with the included tool, leaving a tiny hole you can fill with color-matched putty.
The result? A floor that doesn’t squeak, with no visible damage. I’ve used this on four separate floors over the years, and the only time it fails is when you miss the joist entirely. Use a stud finder first. Mark your joist locations with blue painter’s tape before you start, and you’ll hit your targets every time.
Using Construction Adhesive on Surface Gaps
If you’ve got wide visible gaps between boards that are causing movement, a thin bead of construction adhesive or even specialized floor repair adhesive. sold under names like HH-66 or Bostik’s Best, can be worked into those seams with a putty knife. Press the boards together, wipe the excess immediately, and weight them down for a few hours.
This method works best on floating hardwood floors or engineered wood where boards click together and eventually loosen. But even on nail-down solid hardwood, filling mobile gaps reduces movement and cuts friction. Less friction means less noise. Simple equation.
When the Squeak Lives at the Stairs or Doorway Threshold
Stairs and transitions are a different beast. Most stair squeaks come from the tread rubbing on the riser below it. From underneath the staircase, drive screws up through the riser into the back of the tread to lock them together. From the top, use the breakaway screw method near the front edge of the tread where it contacts the riser.
Threshold squeaks. that strip of noise right at a doorway, are almost always caused by a loose reducer strip. Pull the strip, apply construction adhesive to the subfloor, and press it back down. Weight it overnight. Problem solved in most cases.
What I’d Actually Do If I Were Starting From Scratch
Start with the lubricant. Always. It costs $4, takes five minutes, and fixes roughly 40% of squeaks immediately. If that doesn’t work, go below if you can and look for movement. If you’re working from above only, buy the Squeeeeek No More kit and hit your joists deliberately.
The thing most guides miss is that squeaky floors almost never require one solution. you need to diagnose the specific friction source in each spot. Treat every squeak as its own small problem. One might need graphite, another needs a screw, another needs adhesive. Work methodically, move board by board, and you will silence every single one of them.
Your floor can go from a liability to invisible. And you don’t need to tear up a single plank to make it happen.
FAQ
How long does the powdered graphite fix last?
In my experience, it holds for one to two years under normal foot traffic before needing a light reapplication. It’s not permanent, but at $4 a tube, the cost-to-result ratio is outstanding.
What if my floor squeaks only in winter?
That’s a seasonal movement issue caused by dry air shrinking the boards. A whole-home humidifier can genuinely reduce squeaking by keeping moisture levels stable, aim for 35-45% relative humidity indoors throughout winter.
Can I use these methods on engineered hardwood?
Yes, with one caveat: the breakaway screw method requires enough material thickness to hold the screw. Most engineered hardwood at 5/8-inch or thicker handles it fine. Thinner planks should stick to the lubricant and adhesive methods only.
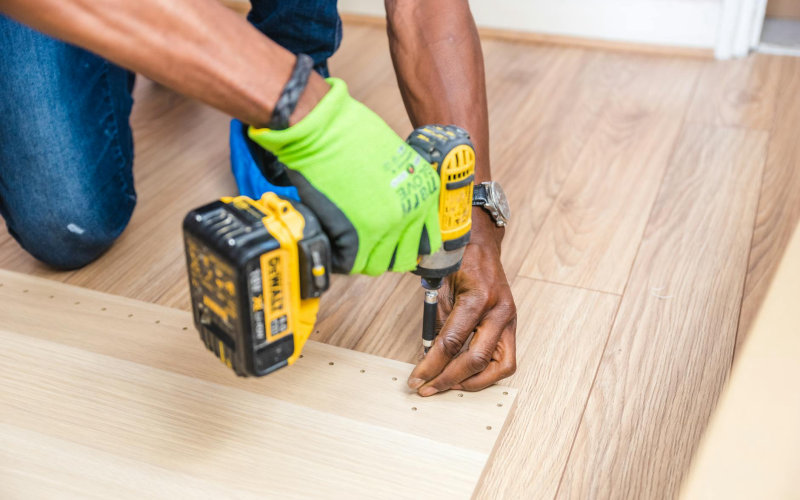
Photo by Bidvine on Pexels

