
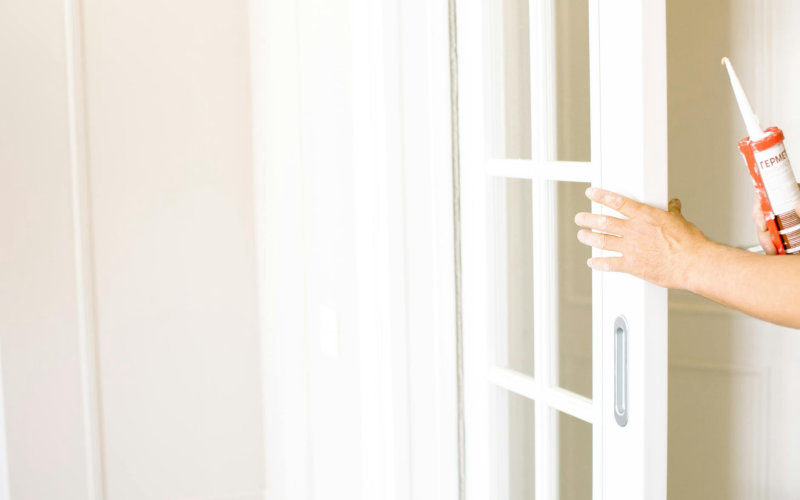

I’ve ruined a bathtub surround with the wrong caulk. Cost me two weekends, a tube of mold remover, and roughly 40 minutes of quiet suffering while I scraped out hardened silicone I’d put down incorrectly three months earlier. Nobody warns you how badly a simple caulking mistake can spiral. But here’s the truth: picking the wrong product for the wrong surface is one of the most common—and expensive—beginner errors in home improvement.
Caulk looks boring. One tube, what’s the difference? Huge difference, actually. Wrong caulk cracks. It peels. It grows mold or flat-out refuses to stick. Sometimes all four, sometimes within a single season.
This guide is what I wish existed before I wrecked my bathroom. Practical. Surface-specific. No fluff.
Why Caulk Type Actually Matters (More Than You Think)
There are roughly six major categories of caulk on the market: silicone, latex (acrylic), siliconized latex, polyurethane, butyl rubber, and specialty foam types. Each one behaves completely differently under moisture, temperature swings, and movement.
Silicone can handle temperatures from -65°F to 400°F. Latex? It starts breaking down much earlier. So when someone slaps latex caulk around a wood-burning fireplace insert, they’re essentially installing a failure that just hasn’t happened yet.
Surface material matters too, because porosity, flexibility, and chemical compatibility aren’t universal. What bonds to ceramic tile won’t necessarily bond to aluminum window frames.
Bathrooms and Showers: Silicone Is King
This is where I see the most mistakes. People grab whatever’s cheapest at the hardware store, run a bead around the tub, and wonder why it’s black and crumbling 18 months later.
For wet areas—showers, tub surrounds, sink edges—100% silicone caulk is the right answer almost every time. It won’t absorb moisture. It resists mold at a cellular level in a way that latex simply can’t. GE’s Sealants line (specifically their Advanced Silicone 2 Kitchen & Bath product, which has been on shelves in updated formulations since around 2015) is genuinely excellent and runs about $8–$12 a tube.
One catch worth knowing: silicone doesn’t take paint. So if you’ve got a painted bathroom and you’re trying to match trim caulk to your wall color, you’ll need a siliconized latex hybrid—not pure silicone.
And those grout lines between tiles? Don’t caulk them. Use grout. Caulk belongs only at the junctions—corners, where tile meets tub, where tile meets a different material.
Kitchen Counters and Backsplashes: Flexibility First
Kitchens are thermally active environments. The stove cycles heat, steam rises constantly, and countertops expand and contract slightly with temperature changes over the years. A rigid caulk will eventually crack at these joints.
Siliconized latex (sometimes labeled “kitchen and bath” or “tub and tile”) hits the sweet spot here. It’s flexible enough to absorb minor movement, accepts paint if you need it, and cleans up with water before it cures. DAP’s Alex Plus with Silicone—a job-site staple since the mid-1990s—costs around $5–$7 and works well along countertop backsplash edges.
For the joint where a stone countertop meets a painted drywall backsplash (a situation I dealt with in my own kitchen), you want something with a 30-year warranty claim, because that junction sees a serious amount of stress over time.
Windows and Doors: Think Weather, Think Movement
Exterior window and door caulking is where polyurethane and paintable siliconized latex really earn their keep. These joints have to survive UV exposure, rain, freeze-thaw cycles, and the slight seasonal racking of your house frame.
Polyurethane caulk—think Sikaflex 1a or Tremco’s Dymonic line—is the professional contractor’s go-to for exterior work. It sticks to wood, metal, masonry, and vinyl, and it stays flexible for years without going brittle. It’s harder to work with than latex (mineral spirits for cleanup, slow cure time), but for exterior joints on older homes, nothing really beats it.
For interior window trim where you’re just filling the gap between casing and drywall before painting? Regular paintable latex is fine. Fast, easy, done.
Basements and Masonry: Hydraulic and Butyl Are Your Friends
Basements are a different world entirely. You’re dealing with concrete, block, and potentially active water infiltration—none of which respond well to standard latex or silicone.
For masonry and concrete joints with no active water movement, polyurethane or butyl rubber caulk is the appropriate call. But if you’ve got water actually seeping through a foundation crack, you need hydraulic cement first. Caulk comes after, as a secondary seal once the water pressure problem is addressed.
Butyl rubber caulk is genuinely underrated. It bonds to almost everything, stays permanently flexible, and handles the alkalinity of concrete without degrading. HENRY’s Wet Patch line and similar butyl-based products are worth keeping in your toolbox if you own a house with a basement.
Trim, Baseboards, and Interior Gaps: Just Use Paintable Latex
Simple answer. No debate needed.
For every interior gap between trim and drywall, between baseboards and flooring, between door casings and wall surfaces—standard paintable latex acrylic caulk is the move. It’s cheap, it’s easy, it accepts any paint, and it sands smooth before painting if you need that.
Don’t overthink it. Alex Plus or any DAP or GE latex product in the $3–$6 range handles 90% of interior trim work perfectly.
One practical tip: apply it thin, smooth it with a wet finger immediately, and don’t expect it to bridge gaps larger than about ¼ inch. For anything bigger, pack in some backer rod foam first, then run your caulk bead on top.
Bottom Line
Here’s the thing I’ve never actually seen spelled out anywhere: the single biggest caulking mistake isn’t choosing the wrong product. It’s applying any caulk over a joint that hasn’t been completely stripped of the old material. Caulk doesn’t bond to caulk in any meaningful way. When your new bead fails at six months and you can’t figure out why, that’s almost always the reason—the old stuff underneath is acting as a release agent, blocking adhesion to the actual substrate. Strip everything down to bare surface (plastic scraper, then acetone or rubbing alcohol) before you ever crack open a new tube. That one habit will make every caulk job you do last dramatically longer, regardless of which product you choose.
Frequently Asked Questions
How long does caulk last before it needs replacing?
Silicone caulk in wet areas typically lasts 10–20 years when applied correctly. Latex caulk on interior trim can last 5–10 years. Exterior caulk around windows and doors usually needs inspection every 5 years, depending on climate.
Can you caulk over old caulk without removing it?
Technically yes, but practically no. New caulk applied over old caulk almost always fails prematurely because adhesion is compromised. Always remove the old material completely down to the original surface.
What’s the difference between caulk and sealant?
Most people use the terms interchangeably, but sealant typically refers to a more flexible, durable product (like silicone) designed for long-term sealing, while caulk is often used for filling and aesthetic gap-closing. In real-world usage, the distinction is pretty minor.
How soon can you get caulk wet after applying it?
Silicone caulk is usually water-resistant within 30 minutes but needs 24 hours to fully cure before sustained water exposure. Latex caulk needs to be completely dry before any water contact—typically 24 hours minimum.
Photo by La Miko on Pexels

