
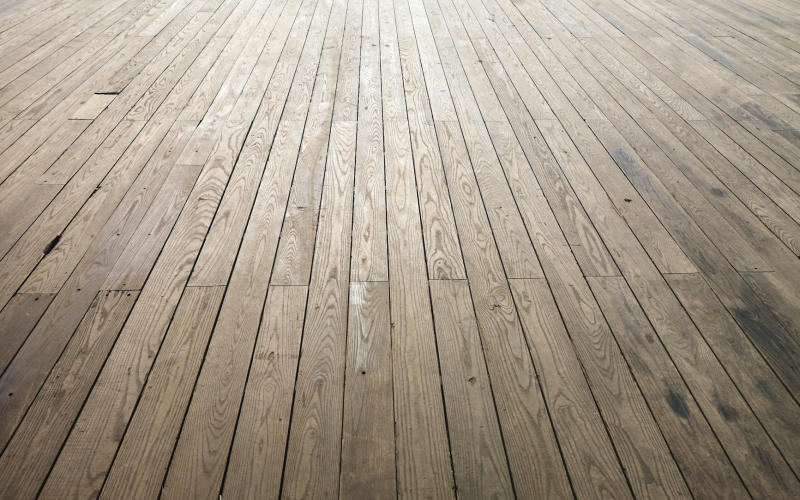

I’ll be straight with you. Renting a drum sander is terrifying.
My neighbor Tom pulled one of those machines across his 1940s oak floor back in 2019 and gouged a 14-inch trough into the wood before he’d even reached the far wall. Three hundred bucks in rental fees, two ruined boards, and roughly six months of quiet regret every time he walked through his living room. And here’s the kicker — he’d watched every YouTube tutorial he could find. Twice.
So I get why you’re hunting for alternatives. The drum sander rental route gets pushed hard by hardware store employees and how-to websites collecting affiliate commissions on tool rentals. Reality check? For most homeowners dealing with moderately worn floors, you genuinely don’t need that equipment. What you need is the right approach, some patience, and somewhere between $150 and $180 in supplies.
First, Be Honest About What Your Floor Actually Needs
Not every floor needs a full sand-and-refinish. Seriously.
Run your hand across the surface. Is the wood itself scratched and worn, or is it mostly the finish that’s dulled and scuffed? There’s a massive difference. If the actual wood grain is damaged — deep gouges, dark stains that have soaked into the fiber, boards with genuine structural wear — you might eventually need heavier equipment. But if you’re dealing with surface finish failure, dullness, light scratches, and that blotchy uneven sheen that builds up after years of cleaning products? A screen-and-recoat is probably your answer.
The screen-and-recoat process (sometimes called “buff and coat”) works by scuffing the existing finish with a floor buffer and a maroon abrasive screen, then laying fresh finish coats on top. No drum sander. No rented orbital edger. Just an 80-pound floor buffer that most home improvement stores rent for around $35 a day — or that you can often grab off Facebook Marketplace for $50 to $80.
What You’ll Actually Spend (Real Numbers)
Here’s the breakdown from my own 340 square foot living room, spring 2023:
Floor buffer purchase (used, Facebook Marketplace): $65. Maroon abrasive screens, 3-pack: $18. Minwax Hardwood Floor Reviver, two bottles: $28. 3M tack cloths: $6. Painter’s tape and plastic sheeting: $11. Total: $128.
Renting a drum sander plus edger for one weekend? That same job would’ve cost me $190 to $240 in rental fees before I’d bought a single sheet of sandpaper.
So even factoring in the buffer purchase, I came out ahead. And I still have the buffer — it’s been used four more times since.
The Supplies You Need Without Renting Big Equipment
You need a floor buffer (not the same thing as a drum sander — completely different animal). You need abrasive screens in the 80 to 120 grit range. You need your finish: either an oil-modified polyurethane like Minwax Fast-Drying Poly, or a water-based option like Bona Traffic HD if you want something more durable with lower VOCs.
Get a proper applicator too. A T-bar with a microfiber pad beats lambswool for water-based finishes. And don’t skip the tack cloth step — dust is the enemy of any smooth final coat, full stop.
One thing I tell everyone: buy more finish than you think you’ll need. Running out mid-coat creates lap marks you’ll notice every single day for years.
The Process, Step by Step (Without Sugarcoating It)
Clear the room completely. Every piece of furniture. Every rug. Every floor vent cover.
Clean the floor until it’s spotless. I use a diluted Murphy Oil Soap solution first, then follow up with a barely damp mop of clean water. Then let it dry fully — and I mean 24-hour dry, not “feels dry when I step on it” dry. Those are not the same thing.
Run the buffer with your abrasive screen next. You’re scuffing, not removing wood. Use consistent overlapping passes. The floor will look dull and hazy when you’re done — that’s exactly right. Vacuum obsessively (I go over the surface three times), then tack cloth every inch of it.
Apply your first finish coat thin. Actually thin. Then wait the full dry time listed on the label — not the minimum, the full recommended window. Second coat. Wait again. Third coat if your finish brand calls for it. Bona recommends three coats for their water-based products, and based on my experience, I’d agree with them.
Stay off the floor for at least 24 hours after the final coat. Full cure takes 7 to 10 days, so hold off on area rugs during that whole stretch.
Where People Mess Up (And How You Won’t)
The most common failure I’ve seen? People don’t clean the floor thoroughly enough before buffing. Any wax residue, silicone-based cleaner buildup, or oil-soap film will cause the new finish to fish-eye or peel right off. If you’ve been using Pledge FloorCare or anything similar — stop immediately and degrease the floor with a TSP substitute before you touch anything else.
Second most common mistake is rushing dry times. Water-based finishes feel dry to the touch in two or three hours. But they’re not actually ready for a recoat in two or three hours. The label says what it says for a reason, and ignoring it is how you ruin a weekend of work.
And please — test your finish in a closet or some out-of-the-way corner first. Always. No exceptions.
When You Actually DO Need a Drum Sander
Be real with yourself here. Deep black water stains, significant cupping or crowning, layers of old paint, floors genuinely worn through to bare wood in multiple spots — the screen-and-recoat method won’t touch any of that. You need to get down to raw wood, and that means more aggressive equipment.
But even then, consider this before you grab a drum sander: a random orbital floor sander. Companies like U-Sand make multi-disc orbital machines that are dramatically more forgiving, cost roughly the same to rent ($55 to $75 a day), and won’t chew through your floor if you stop moving for two seconds. Call the rental place ahead of time and ask specifically for this type.
Bottom Line
Here’s something I’ve genuinely never seen written anywhere in the home improvement space: the floor refinishing industry has a real financial interest in convincing you your floors are always in worse shape than they actually are. Flooring contractors who offer free estimates make far more on a full sand-and-refinish than a simple recoat — the margin difference is dramatic. Hardware stores benefit from renting you equipment you may not need at all. The honest truth is that the majority of worn hardwood floors in American homes built between 1940 and 1985 are candidates for a screen-and-recoat, not a full refinish. Most homeowners will never know the difference once it’s done.
Your floor doesn’t need to be perfect. It needs to be protected.
Frequently Asked Questions
How do I know if my floors can be refinished without equipment rental?
If the wood itself isn’t deeply gouged and the finish is just dull, scratched, or peeling, you’re likely a screen-and-recoat candidate. Press a fingernail into a worn spot — if it leaves a mark in the wood (not just the finish layer), the wood is soft or bare and may need more aggressive sanding.
Can I use a regular household buffer instead of a floor buffer?
No. Small household polishers don’t carry enough weight or surface area to create consistent abrasion across a floor. You need a machine with at least a 17-inch pad. Buy or rent a proper floor buffer — there’s no workaround here.
How long does a screen-and-recoat finish actually last?
Done correctly with a quality finish like Bona Traffic HD, you can reasonably expect five to eight years before you need to do it again — assuming you’re not dragging furniture across it constantly or cleaning with harsh products.
What’s the biggest mistake first-timers make?
Skipping prep. Eighty percent of finish failures trace back to contamination on the floor surface before the first coat ever went down. Clean it like your floors depend on it. Because they do.
Photo by Engin Akyurt on Pexels

